
Some posts on this site contain affiliate links, meaning if you book or buy something through one of these links, I may earn a small commission (at no additional cost to you!). Read the full disclosure policy here.
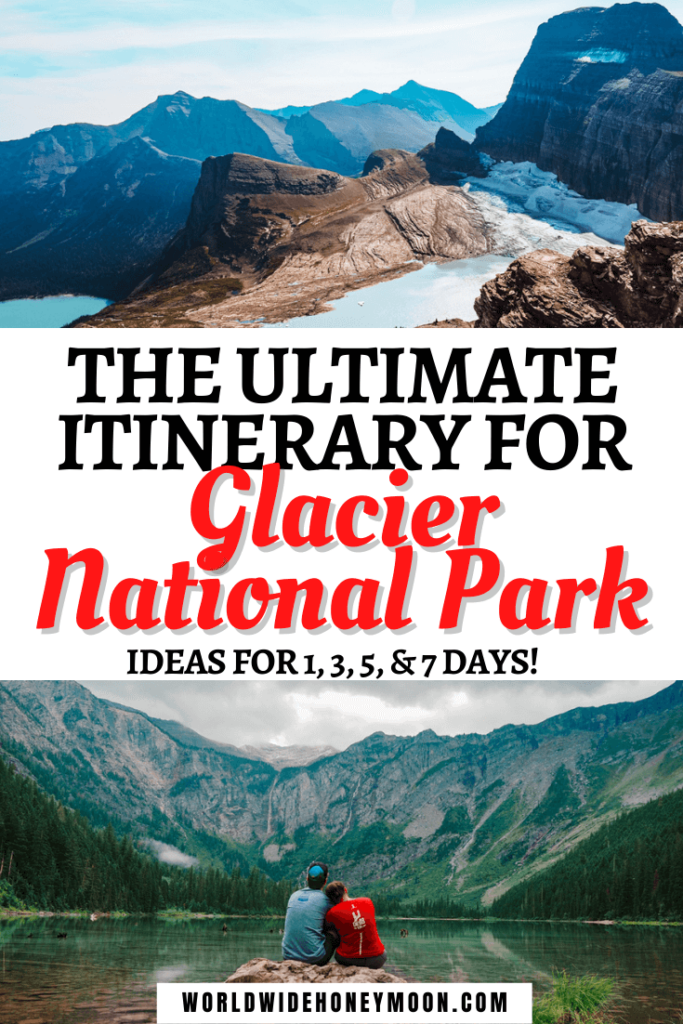
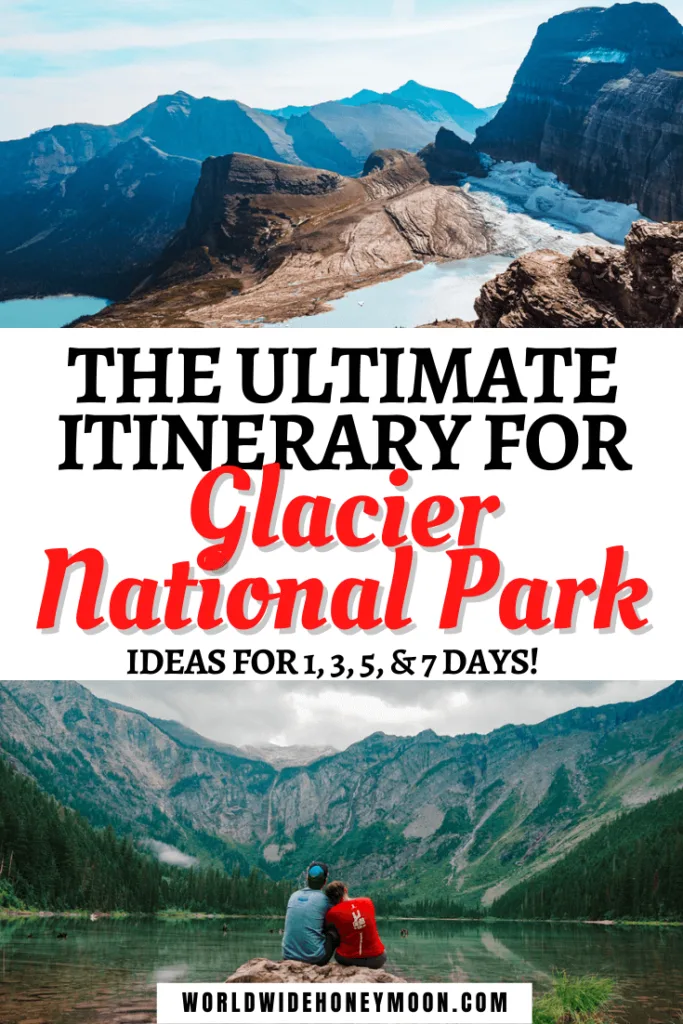
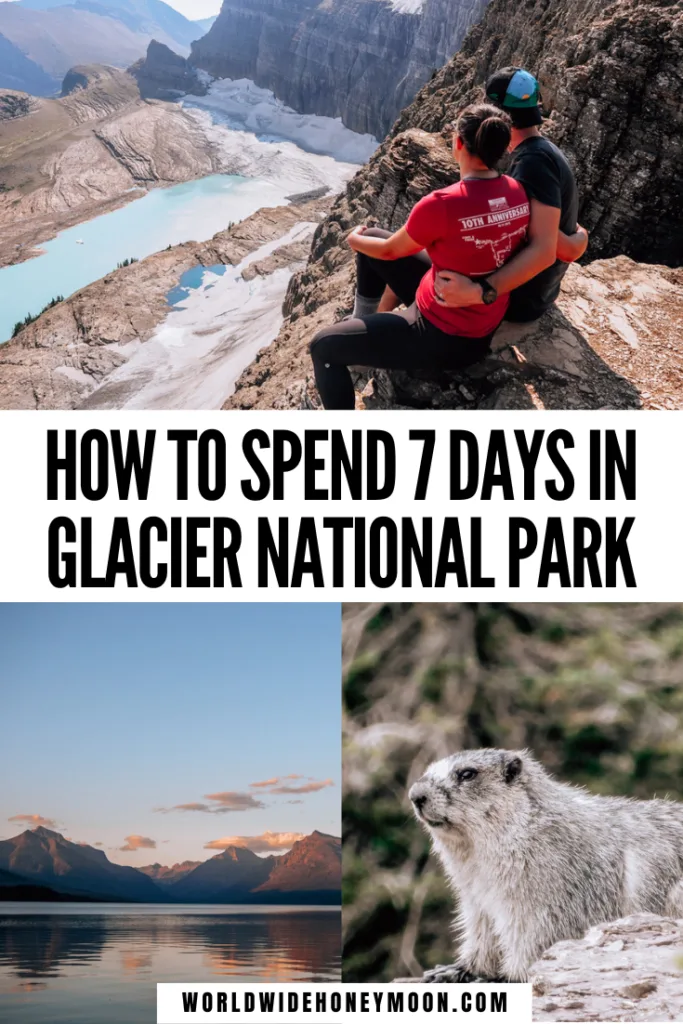
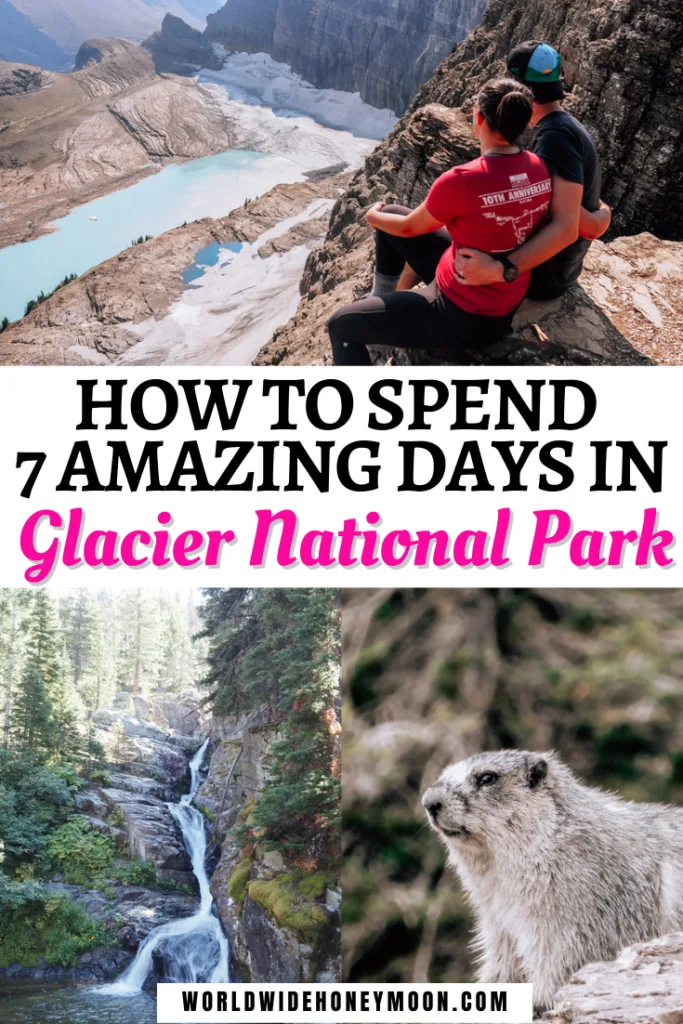
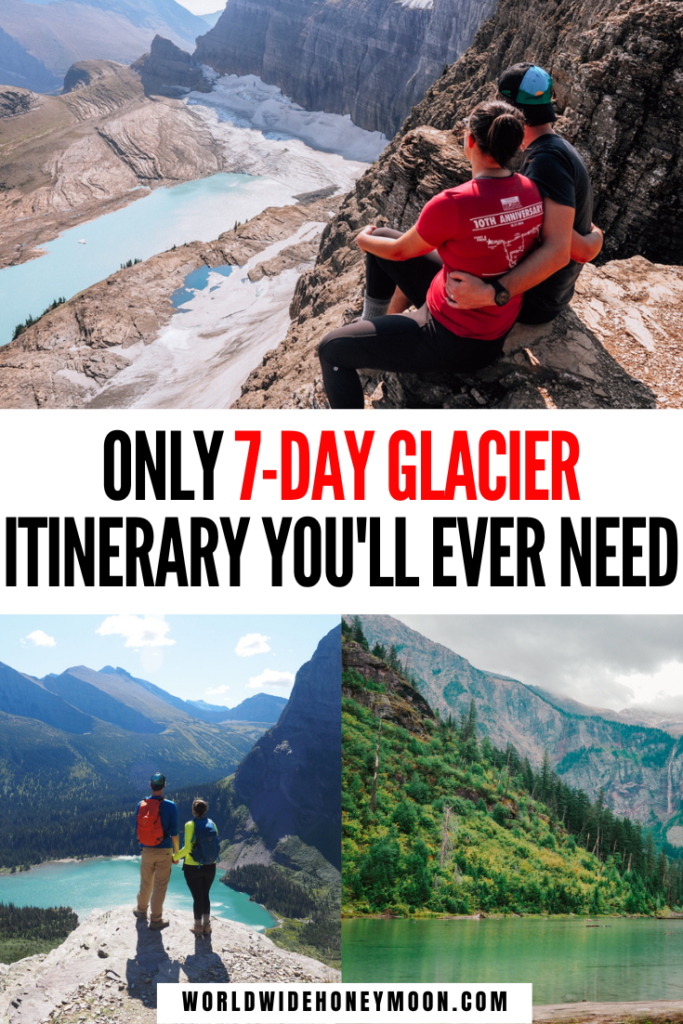
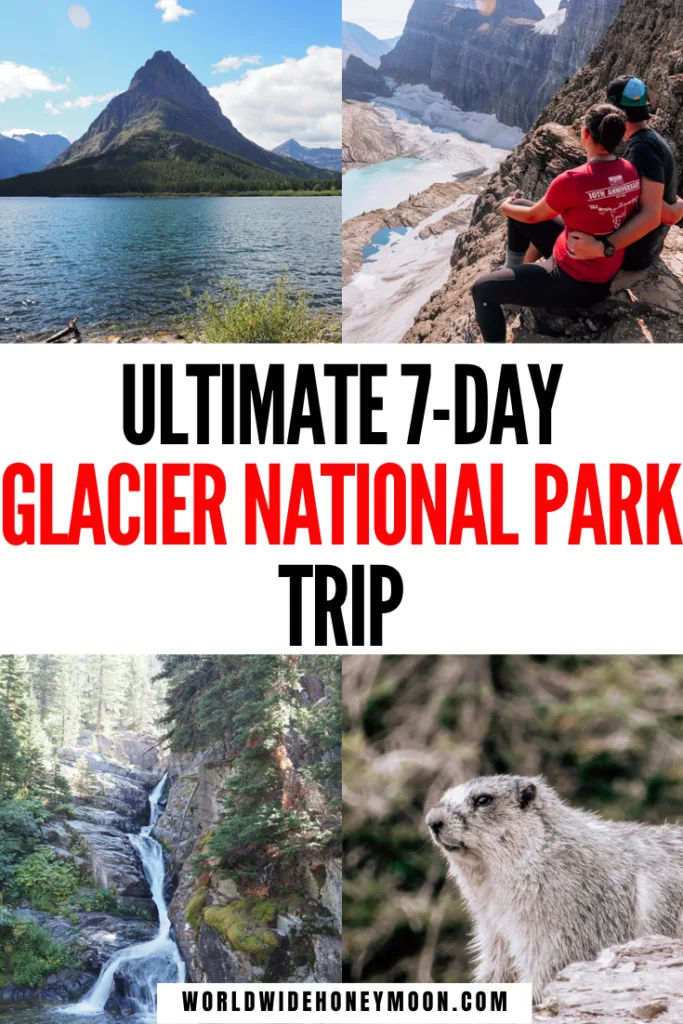
Planning the best Glacier National Park itinerary in 7 days can be a bit daunting, to say the least. With about 1,583 square miles of wilderness to explore, and over 700 miles of trails and plenty of lakes to visit, it can be a challenge to make the most of your trip no matter how long you’ve got planned.
However, after our 7-day itinerary in Glacier National Park, and from consulting our favorite Glacier National Park Moon Travel Guide, we’ve come up with the ultimate 7 days in Glacier National Park that you’re sure to love!
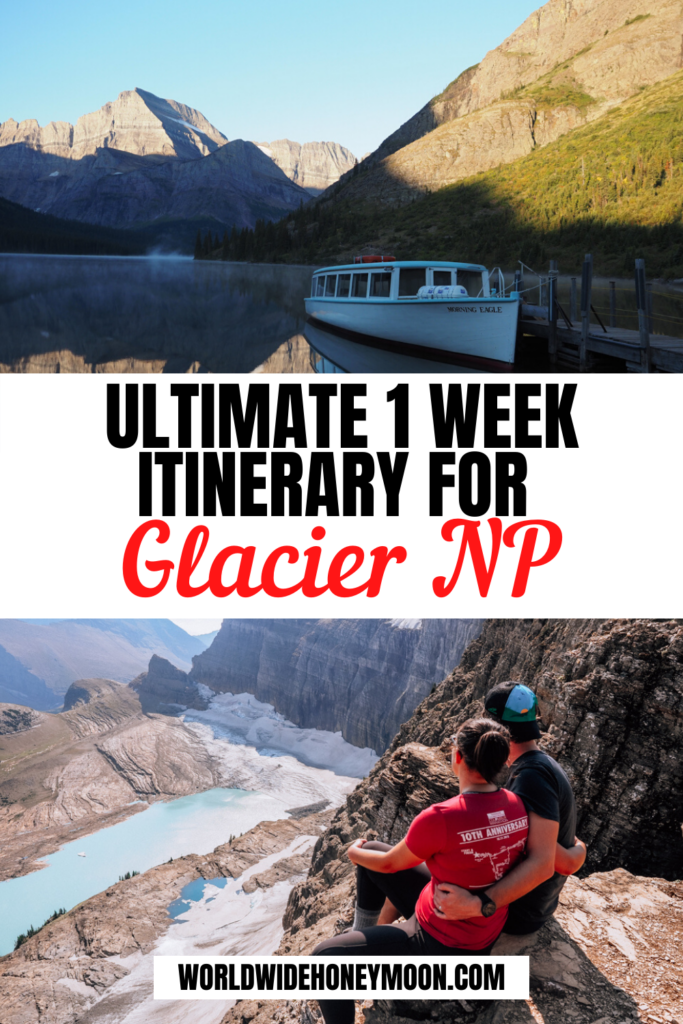

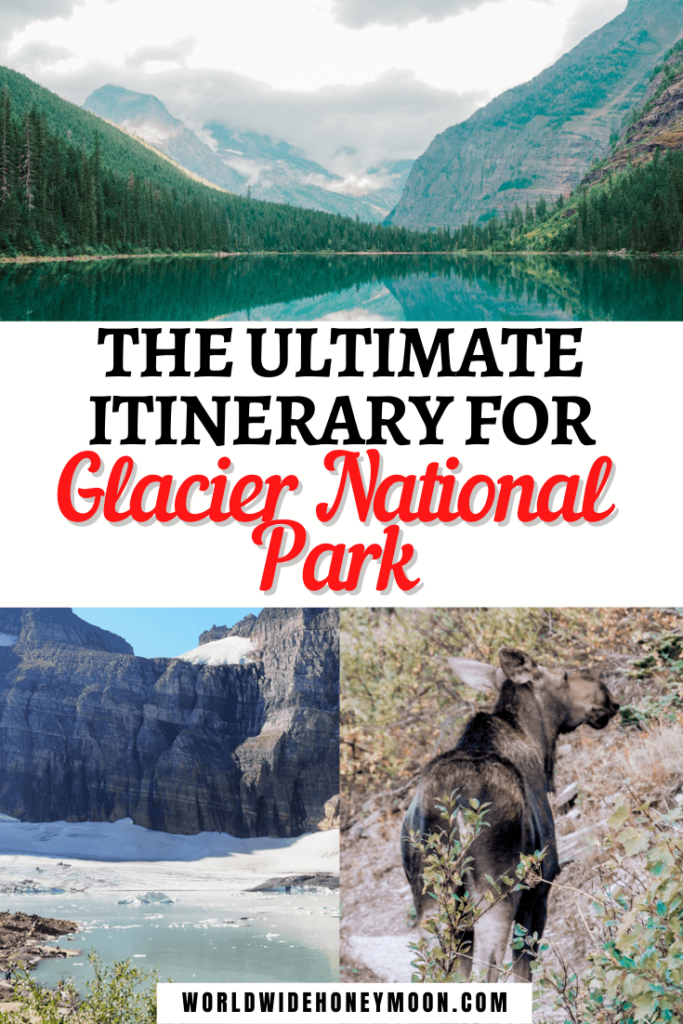
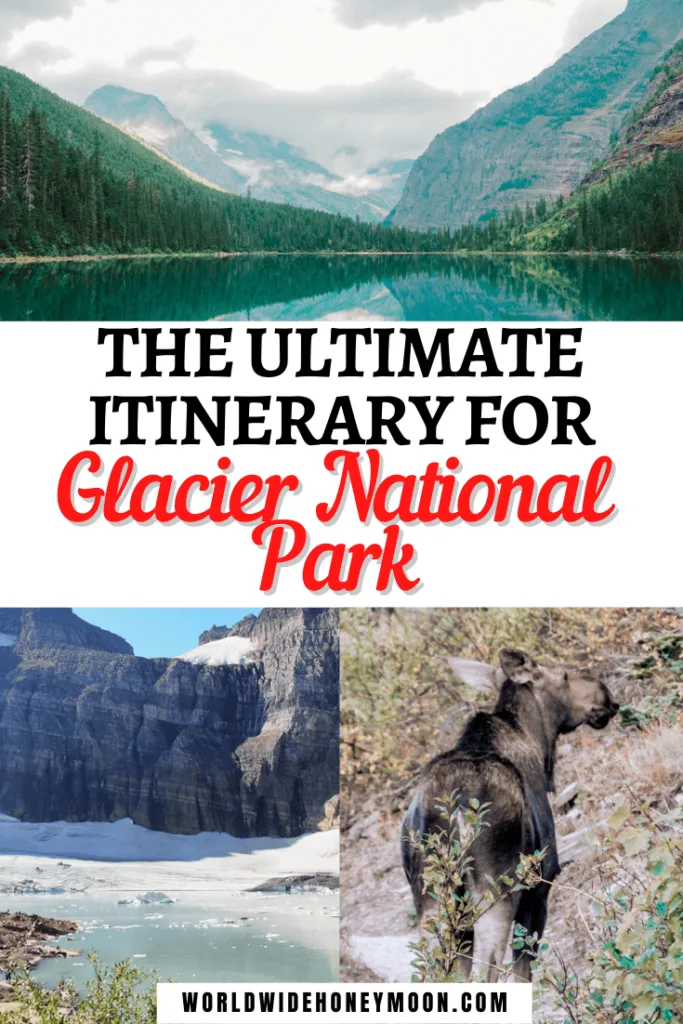
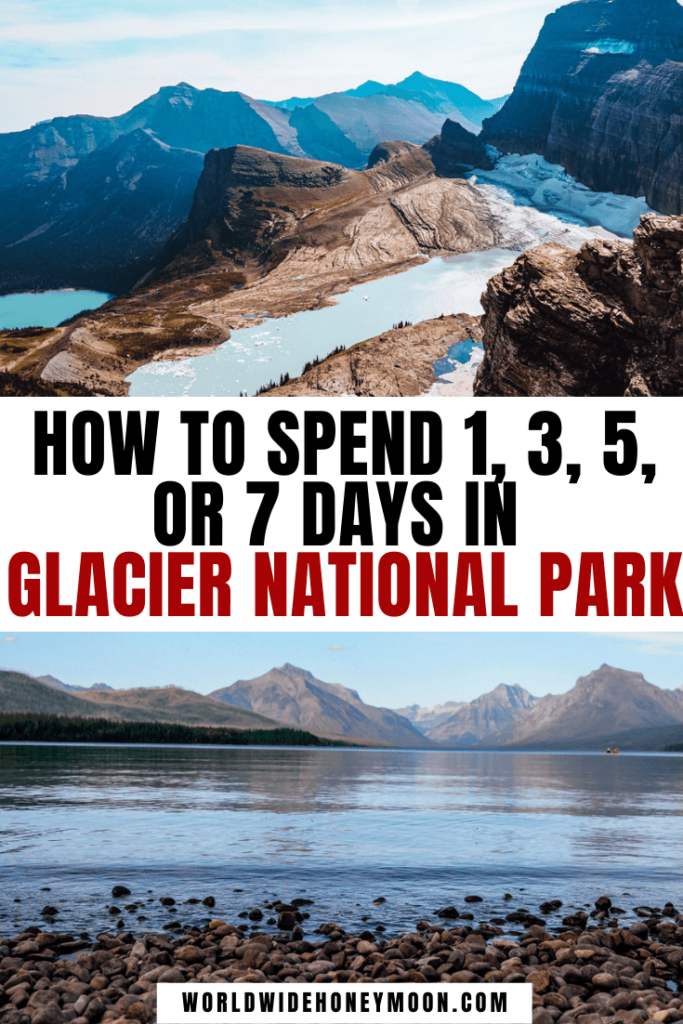


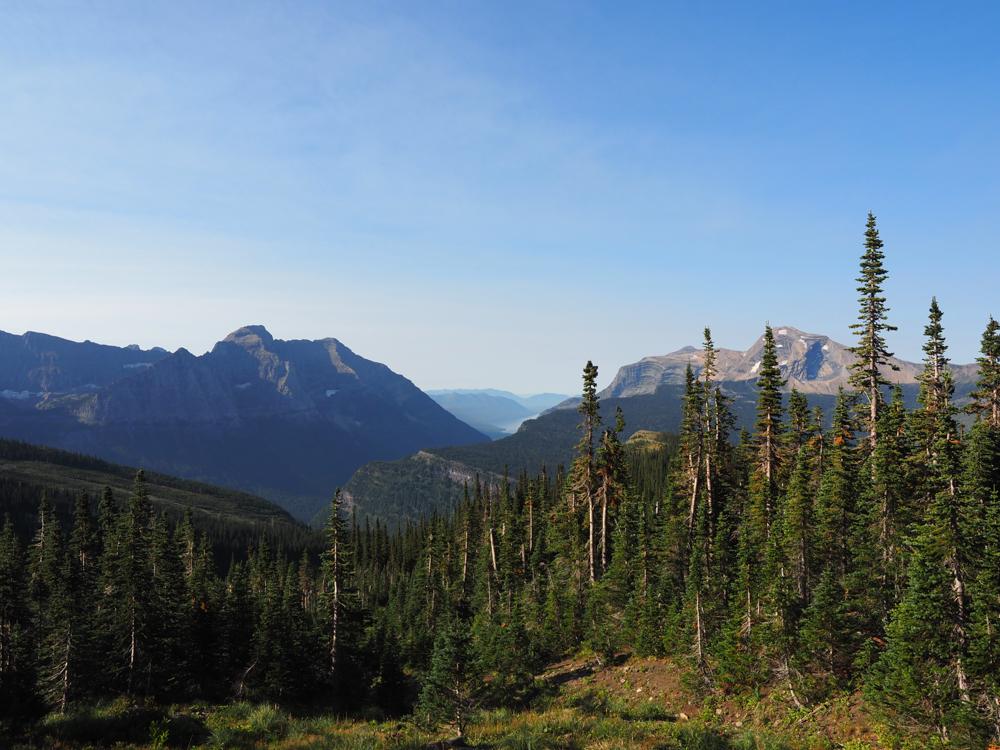
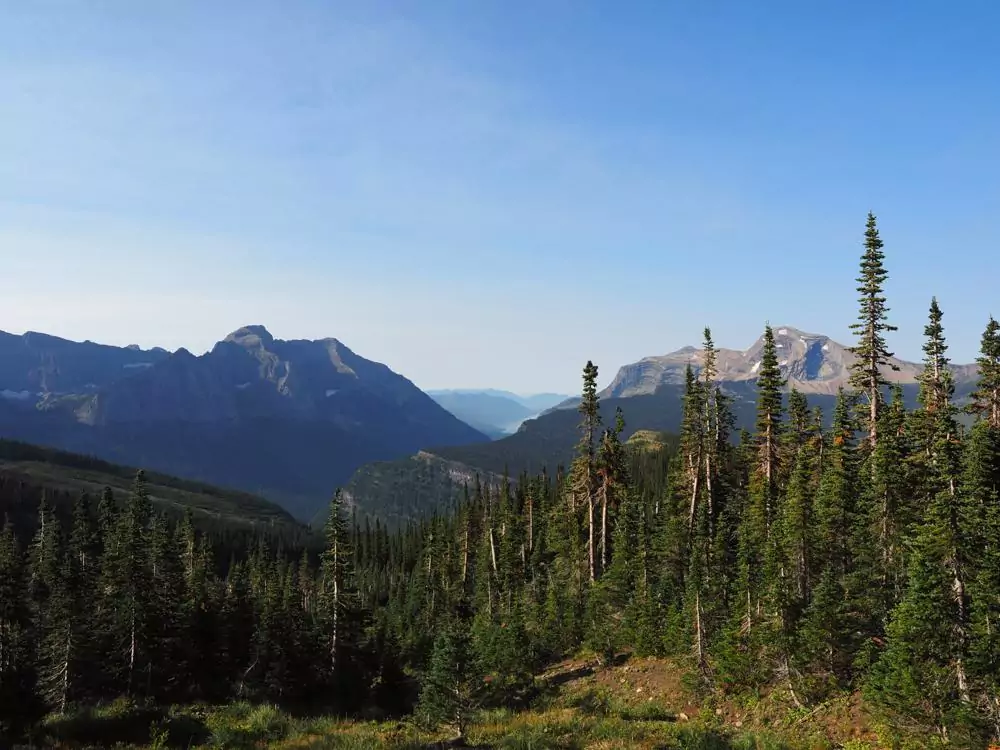
Table of Contents
- Best Glacier National Park Itinerary in 7 Days
- Day 1: Getting to Glacier and Lake McDonald
- Day 2: Hike Highline Trail to Granite Park Chalet and Grinnell Glacier Overlook
- Day 3: Kayaking on Lake McDonald
- Day 4 of Your 1 Week in Glacier National Park: Rafting on the Flathead River
- Day 5: Going-to-the-Sun Road & Stops On the Way
- Day 6: Hike to Grinnell Glacier
- Day 7 of Your Itinerary for Glacier National Park: Explore Two Medicine Area
- Getting to Glacier National Park
- A Bit of Background for Glacier National Park
- When to Visit GNP
- What to Pack for Glacier National Park
- Getting Around Glacier National Park
- Where to Stay at Glacier National Park
Best Glacier National Park Itinerary in 7 Days
To start out, we’re giving you our full 7 day Glacier National Park itinerary. So if you’re coming for 7 days, we’ve got a tested and approved plan to get the most out of your time in Glacier.
Then, after the full 7-day itinerary in Glacier National Park, I’ll share with you which parts I’d skip and which ones you can’t miss for 1, 3, and 5 days as well.
I highly recommend setting aside a full week for this park, though. It is a massive national park, so spending 7 days will ensure you get the most out of your trip! Here is a quick list of the Glacier National Park itinerary in 7 days. If you want more details, please see below!
- Day 1: Arrive, Grocery Shop, and Sunset at Lake McDonald
- Day 2: Hike Highline Trail to Granite Park Chalet and Grinnell Glacier Overlook
- Day 3: Kayak on Lake McDonald
- Day 4: White Water Rafting on the Flathead River
- Day 5: Drive Going-to-the-Sun Road and Make Stops Along the Way
- Day 6: Hike Grinnell Glacier
- Day 7: Hike in Two Medicine Area
Day 1: Getting to Glacier and Lake McDonald
On the first day of your Glacier National Park trip in 7 days, you’ll need to get there. We ended up flying into Kalispell and renting a car for the duration of our trip.
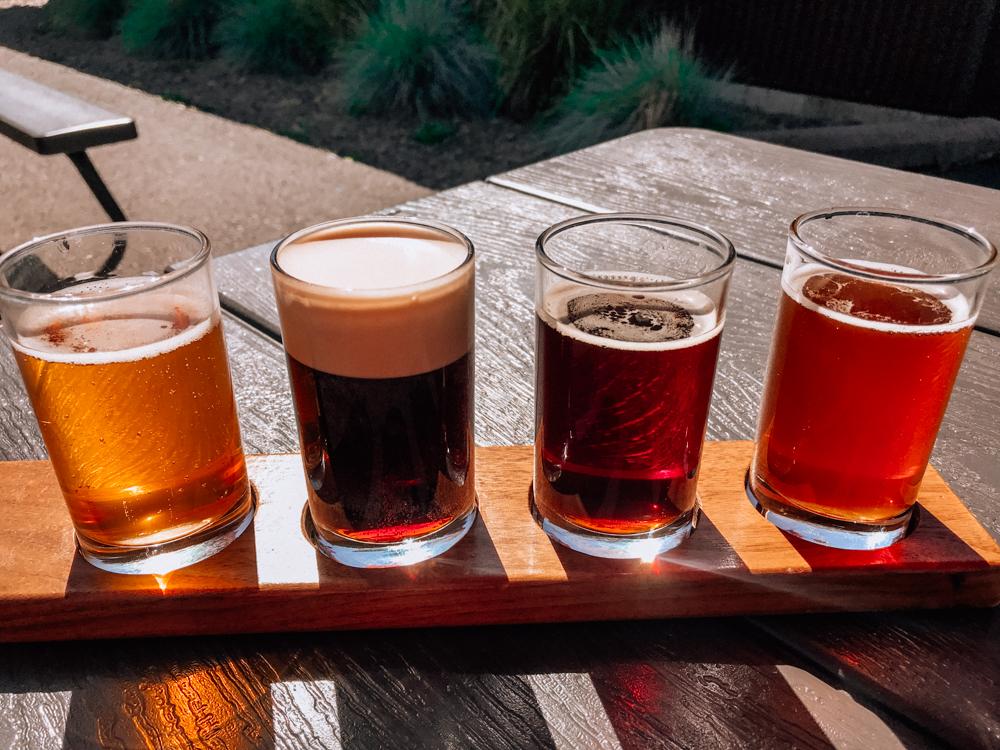
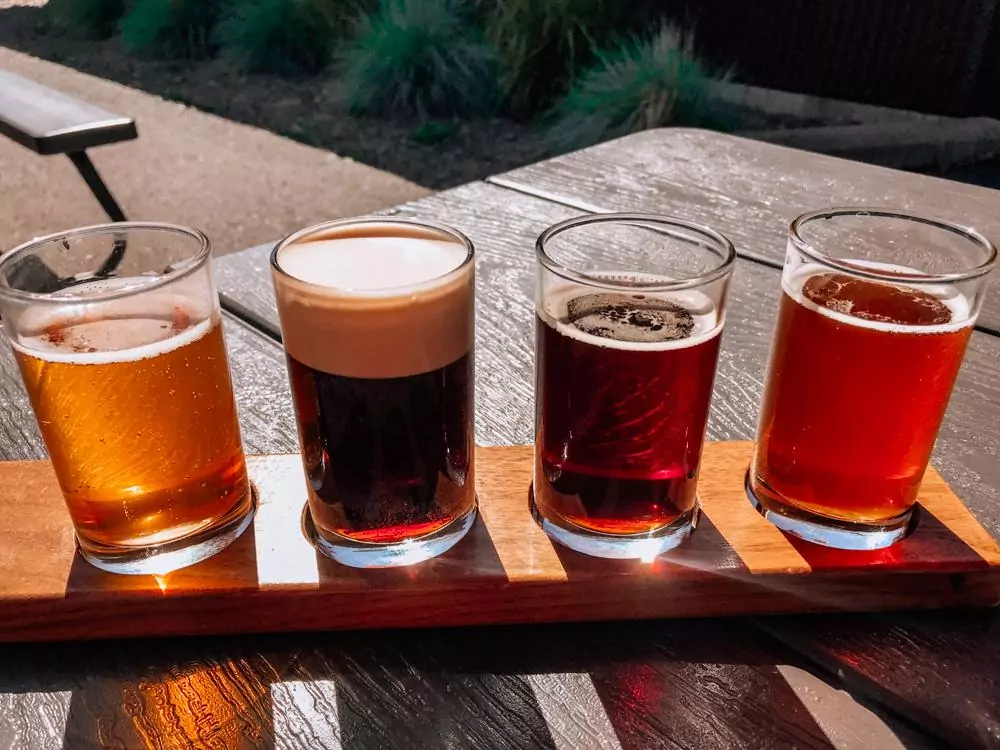
Many flights to Glacier Park International Airport in Kalispell land around the early afternoon. So grab your rental car and get lunch at Backslope Brewing Company.
This place has amazing food and brews, so after a long morning of flights, you may as well get a beer flight as you admire the mountains in the distance. We loved the Mindless Philosopher Belgian Wit and the Herbalist Wheat Ale.
Plus, their food was SO good! We loved their veggie burgers and garlic parmesan fries, and our friends enjoyed their bulgogi bowls!
Grocery Stop and Settle In
After a scrumptious lunch, be sure to grab snacks, hiking food, and post-hike beverages at the local Super 1 Foods. This is easily the largest grocery store in the area so it is a great idea to load up here for your trip.
Then, it is time to settle into your accommodation. For the first part of the trip, I highly recommend staying on the west part of the park around Martin City, Columbia Falls, or Hungry Horse. And if you’re planning to do a lot of hiking as we did, definitely opt for a rental property versus a hotel so you can do laundry.
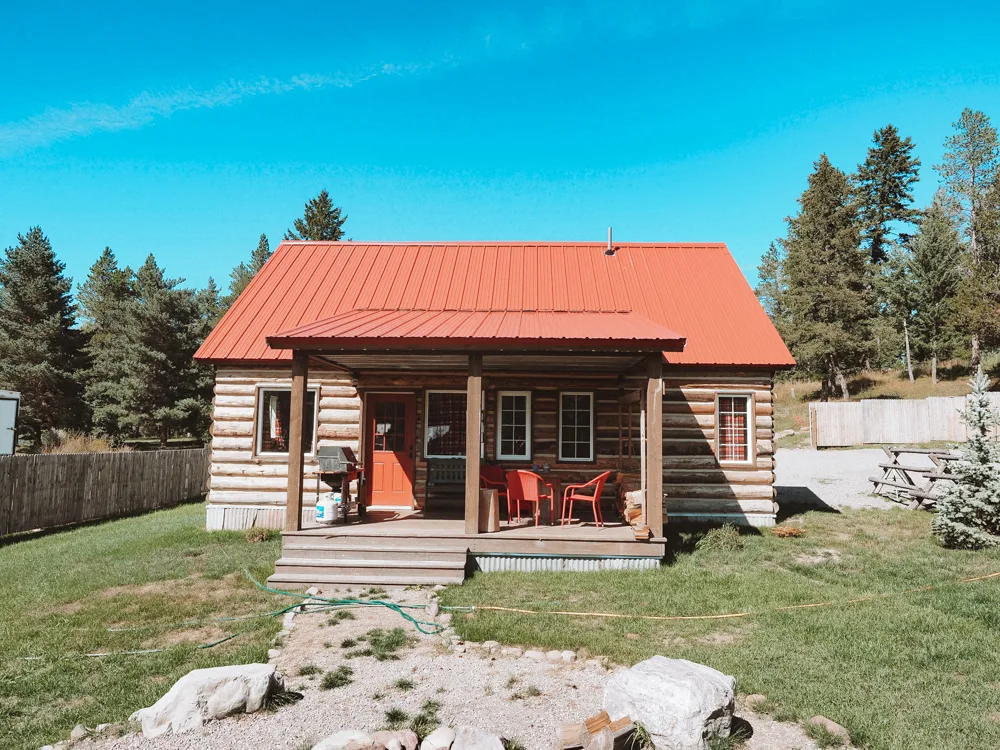
We stayed in this lovely Airbnb cabin with great views close to West Glacier Village. It has a little firepit out back and charming bedrooms with plenty of unique Glacier decor around the house. It was perfect during our stay.

There are also these great VRBO properties that will make your stay comfy as well. Just be sure to get a place with laundry!
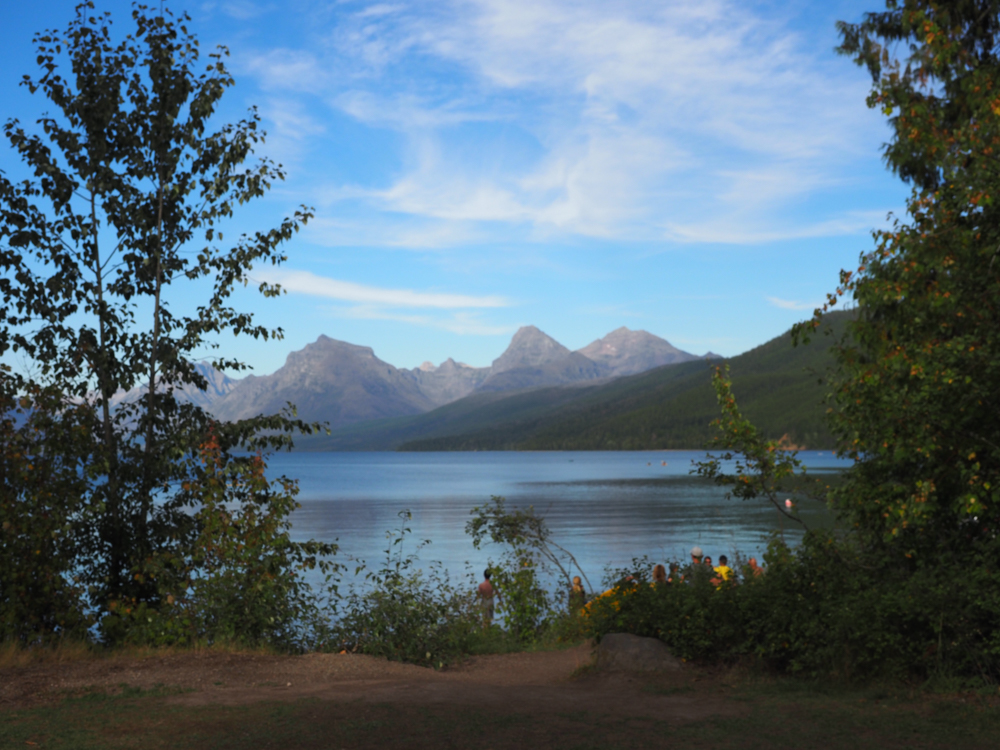
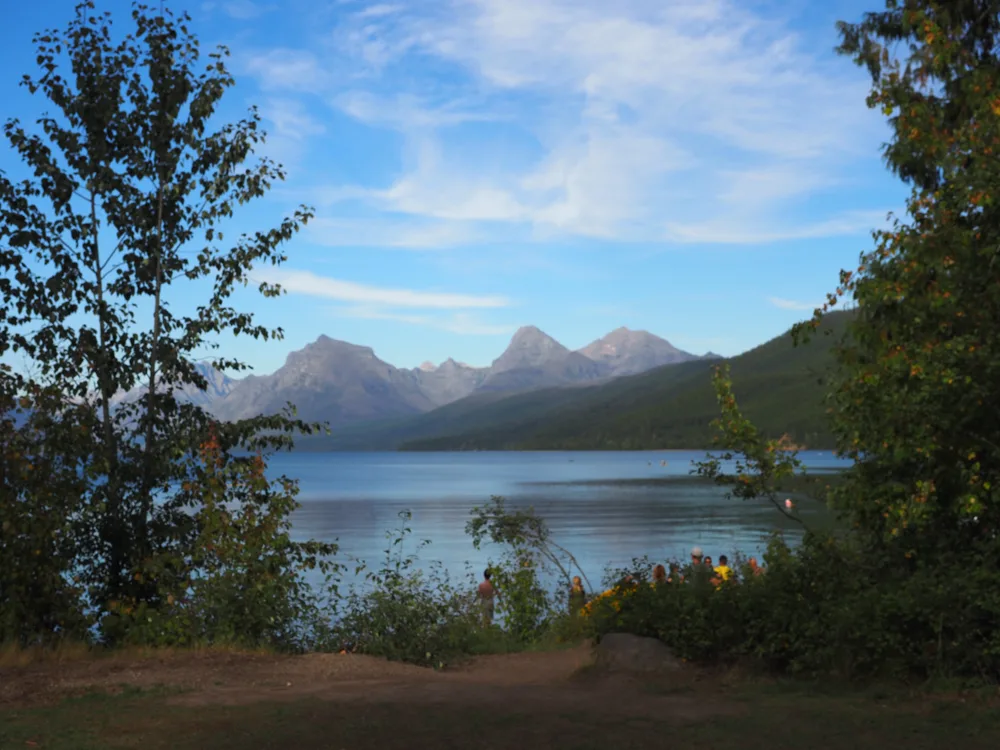
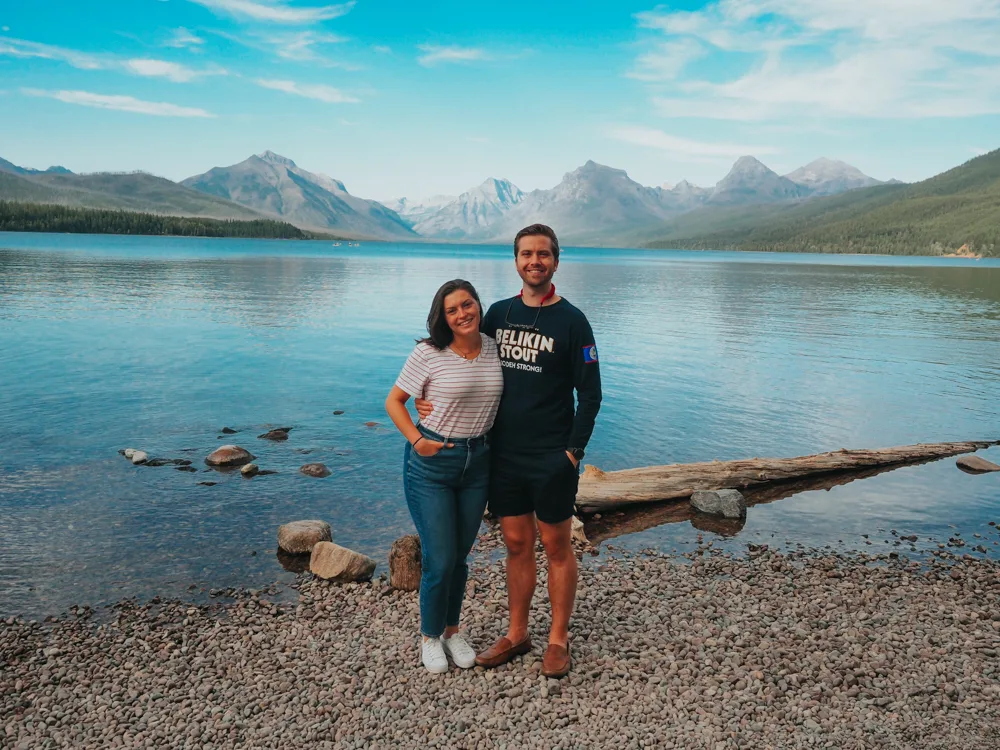
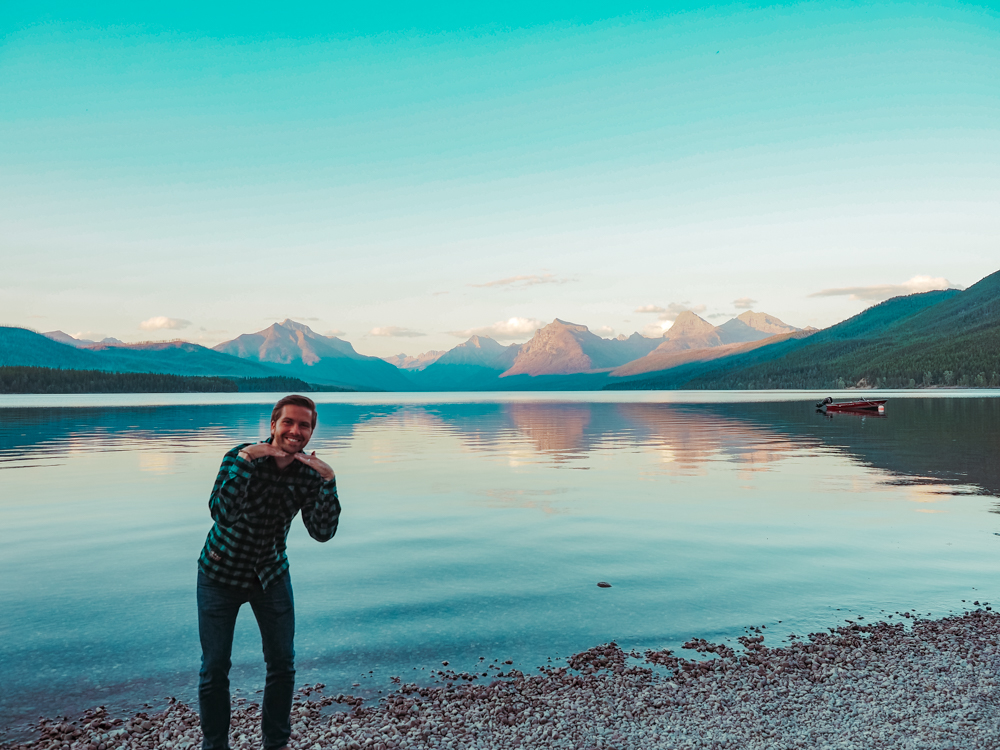
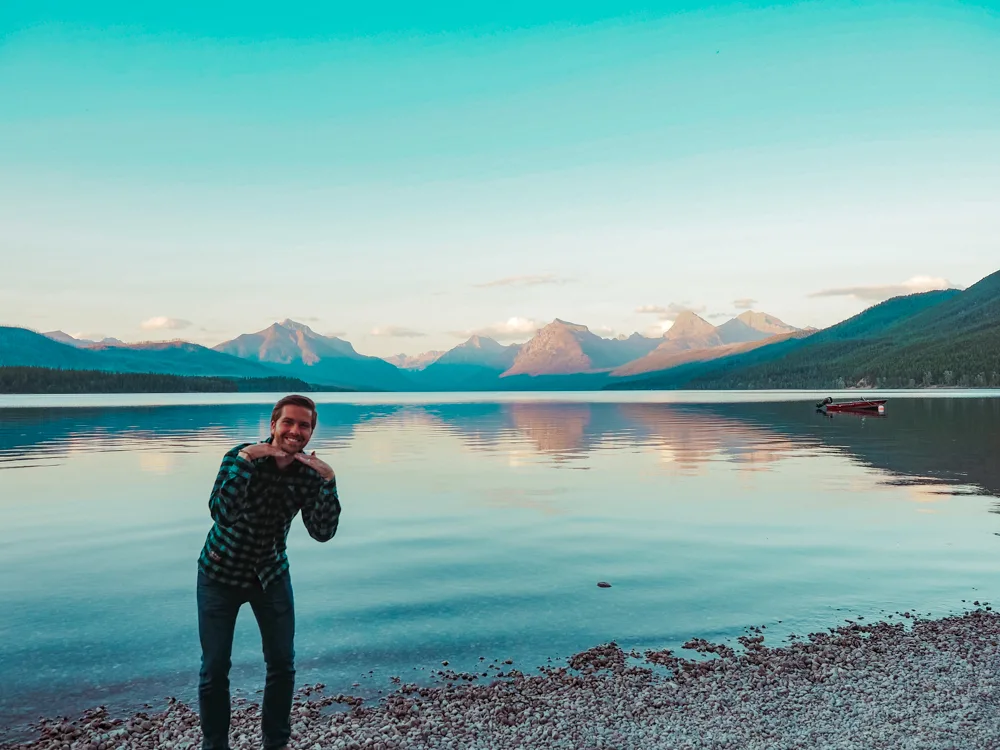
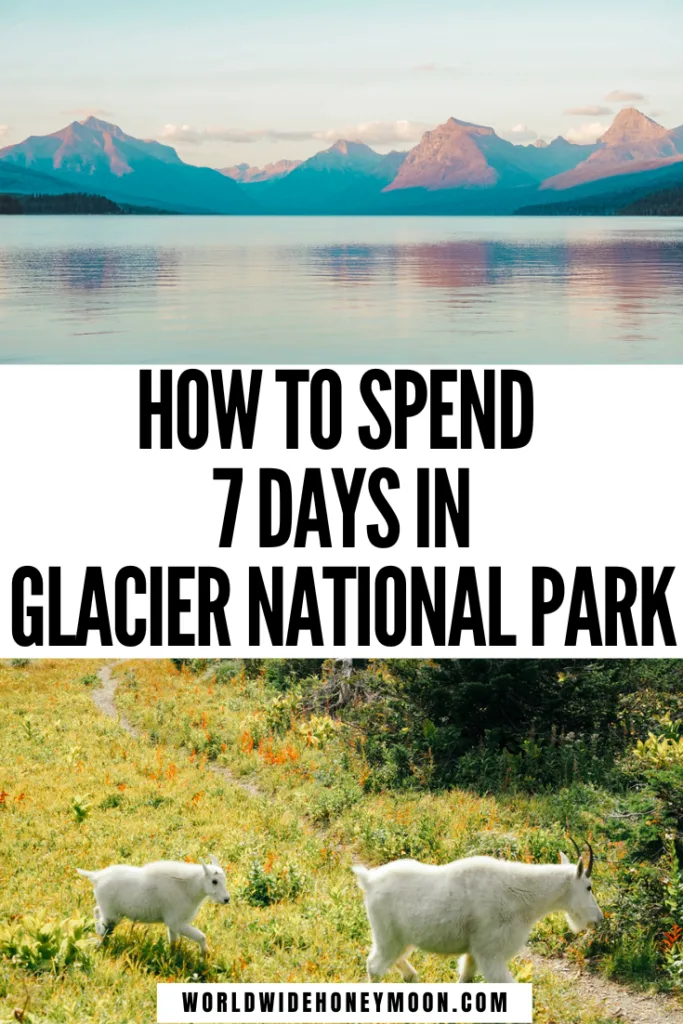
Sunset at Lake McDonald

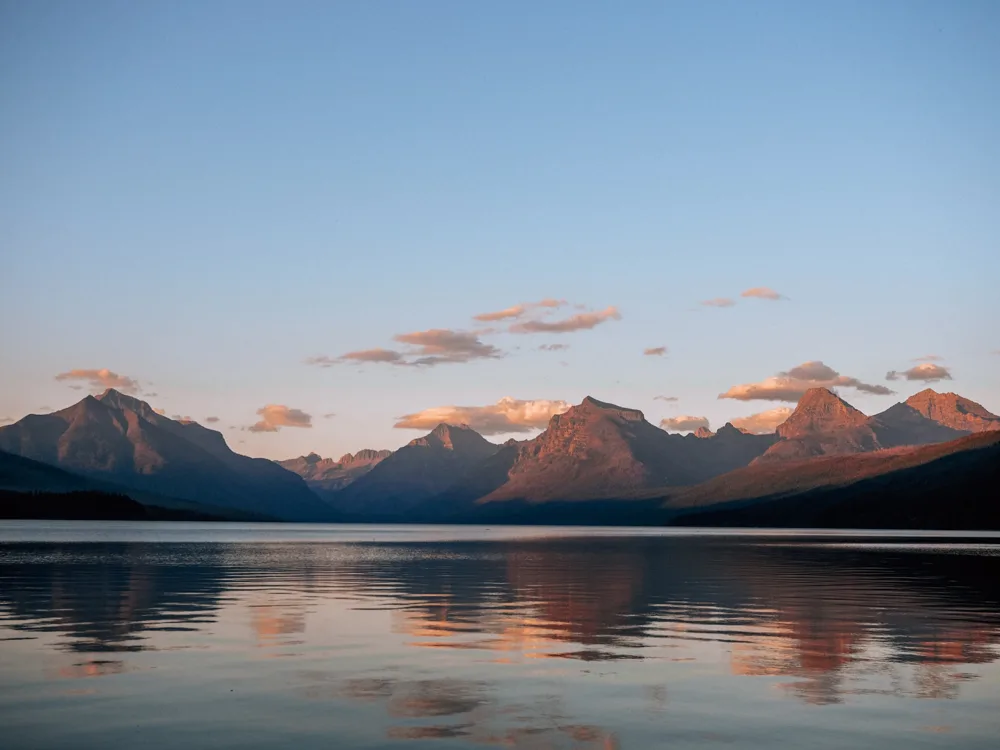
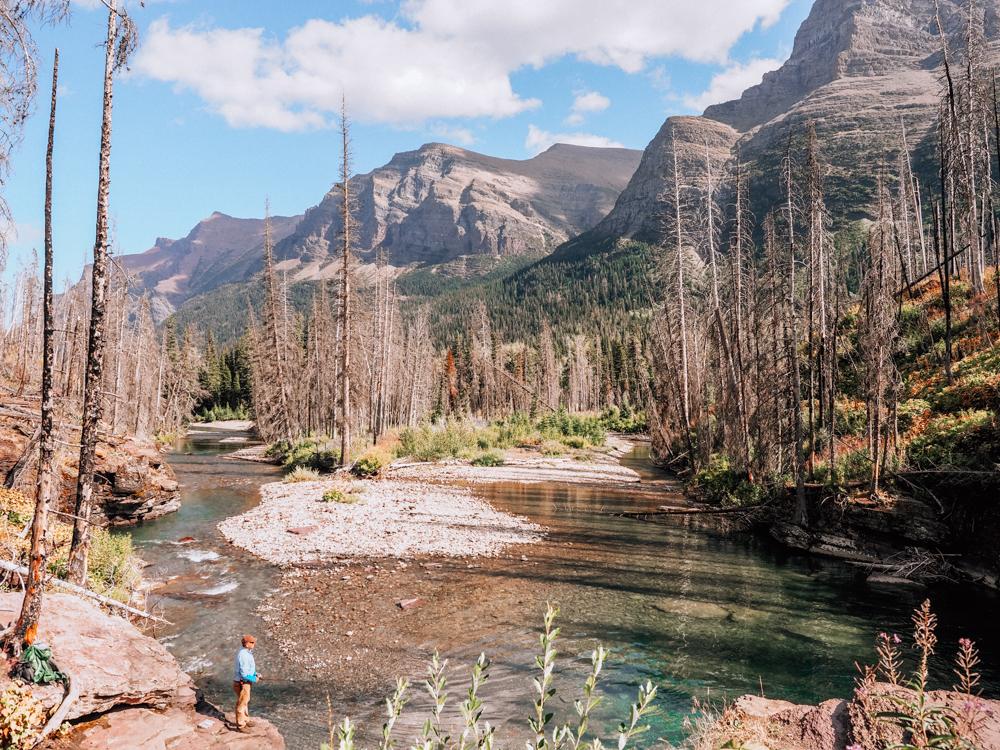
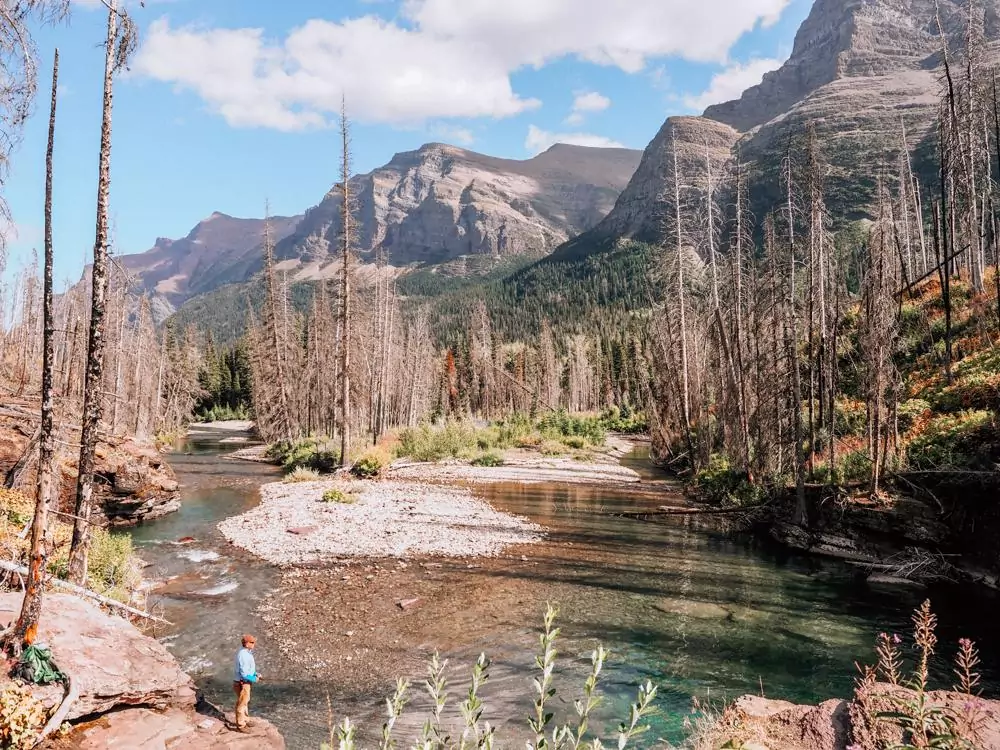
After a long day of arriving at Glacier, having lunch, and just overall settling in, head into the park for your first glimpse of Glacier National Park itself!
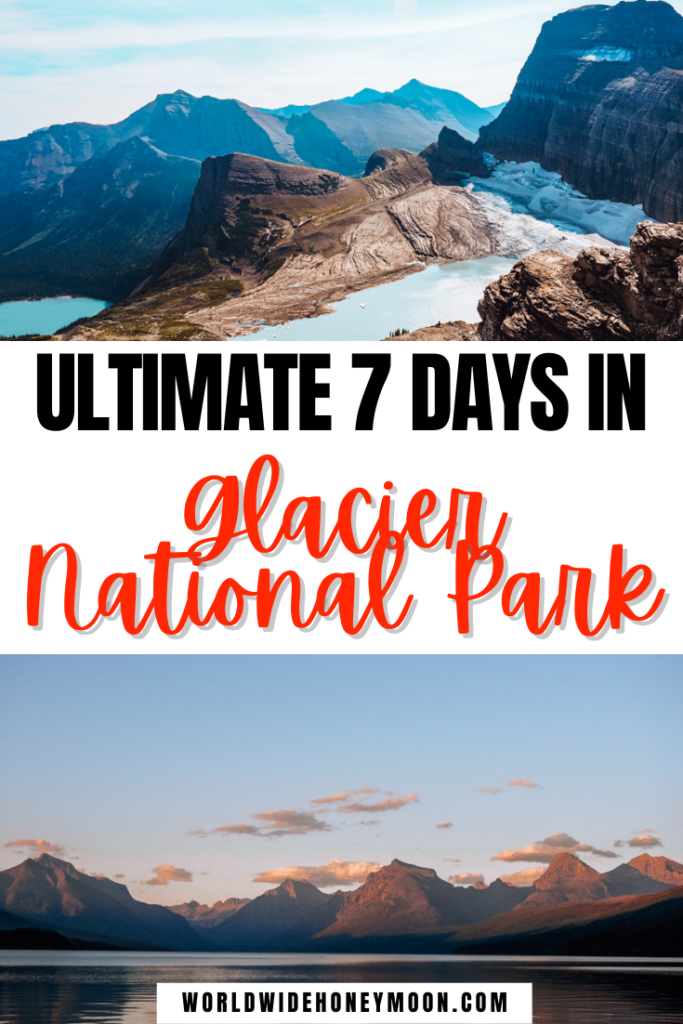
Drive into Apgar Village and go to Eddie’s Cafe & Gifts for a huckleberry ice cream! Then, wander around Lake McDonald as you take in a stunning sunset complete with the colorful rocks in the lake, the jaw-dropping mountains in the background, and the pink and purple skies all around you.


It makes for a perfect first day in the park!
After the sunset, you may want an early night. Honestly, we were so tired we snagged some Domino’s Pizza and went straight to bed for the action-packed day the following day!
Day 2: Hike Highline Trail to Granite Park Chalet and Grinnell Glacier Overlook

I’ll be completely honest that this hiking day during your 7 days in Glacier National Park isn’t for the faint of heart. If you’re an avid hiker and want some incredible views and wildlife, definitely do this, but it is a long hiking day.
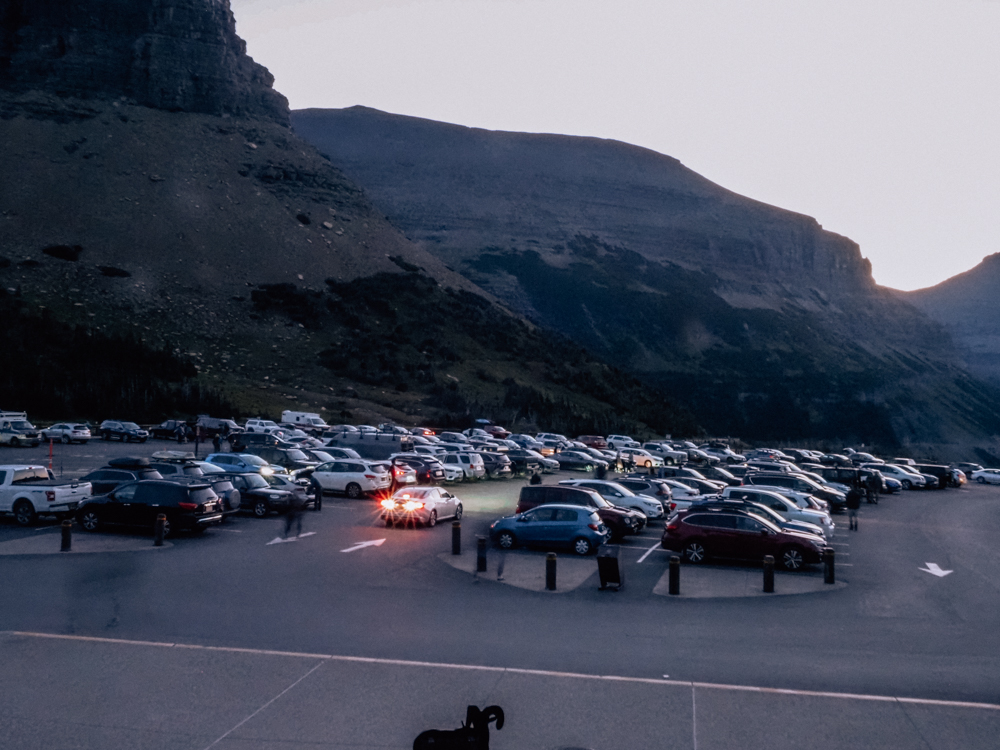
You’ll start out early and drive along the Going-to-the-Sun Road’s curvy mountain road until you hit the Logan Pass Visitor Center. This is where you’ll park to begin your hike.
However, you’ll need to get here early. We got here around 6:30 am and the parking lot was almost packed. By 7 am, the lot was almost completely full. So if you want to find parking, getting in around 6:30 am is a great idea.

Then, be sure to have a backpack full of snacks, water, and wear many layers, as today you’ll be hiking between 13-17 miles.
Highline Trail to Granite Park Chalet
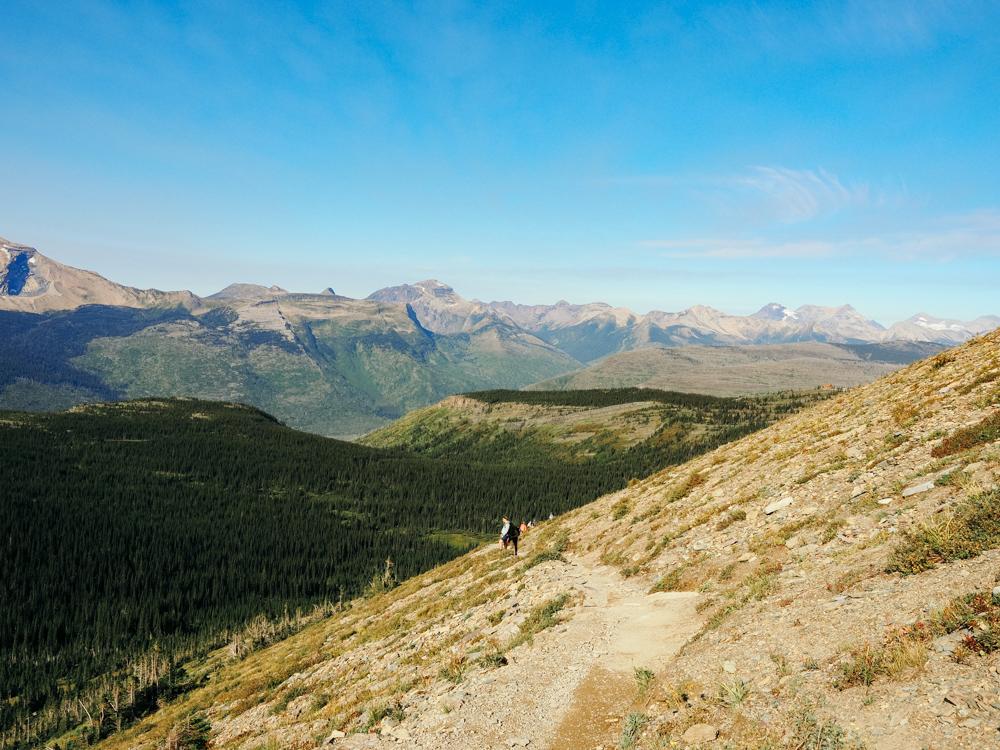
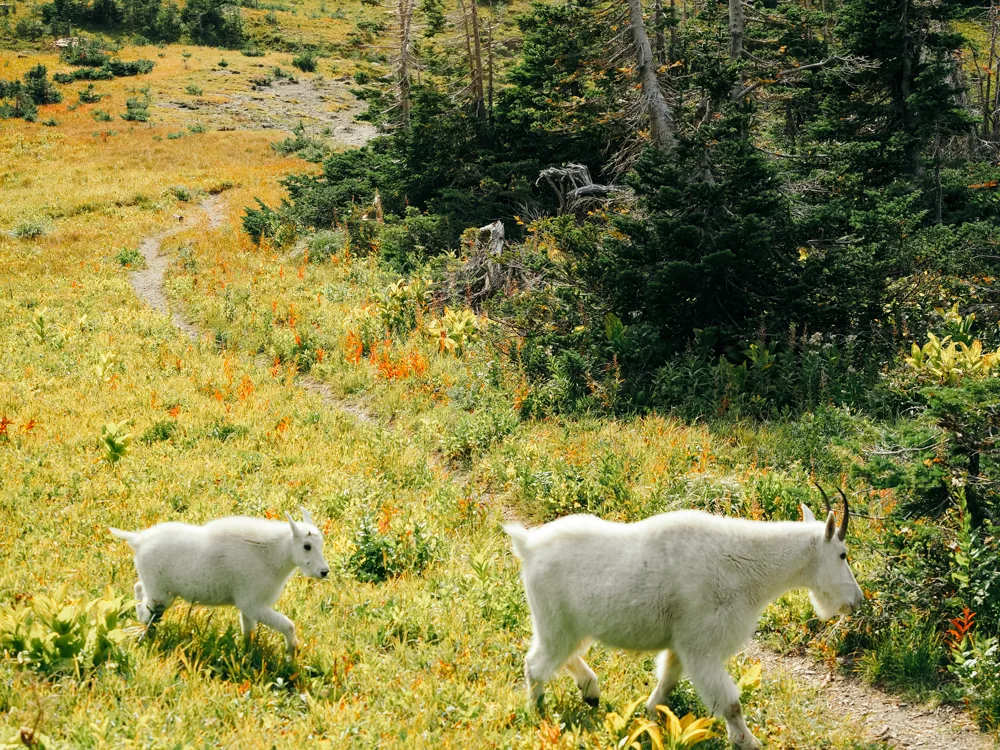
You’ll stay on the Highline Trail for the majority of the hike, where you’ll be met with incredible mountain views all along the way. Watching the sunrise while hiking in the mountains is a true thing of beauty, making the early head start well worth the effort.
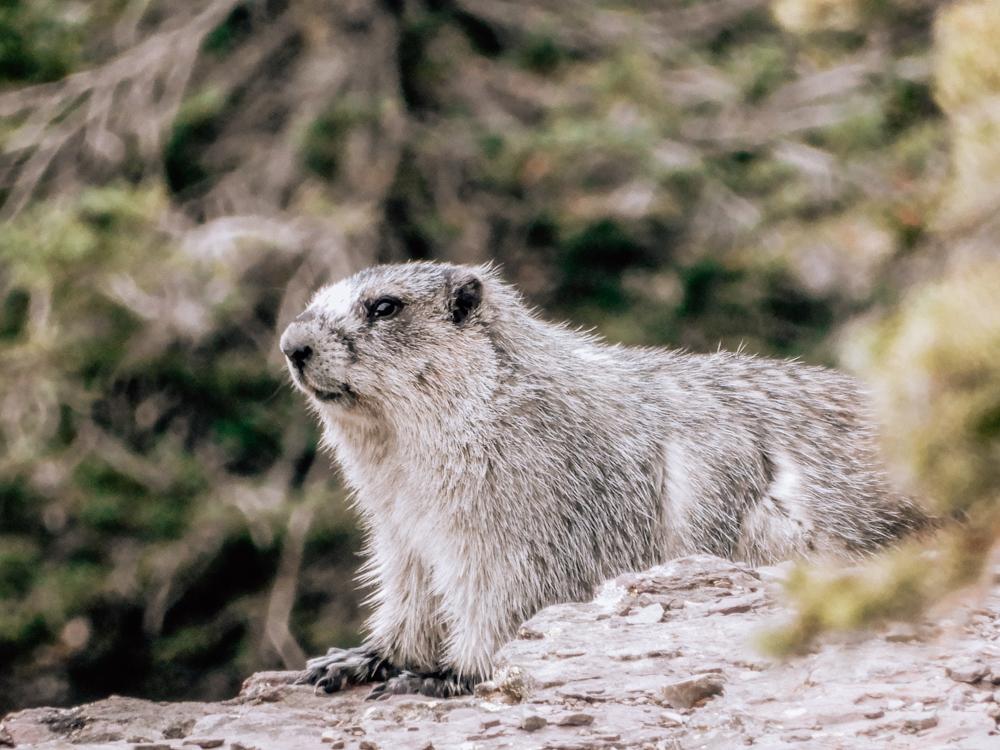
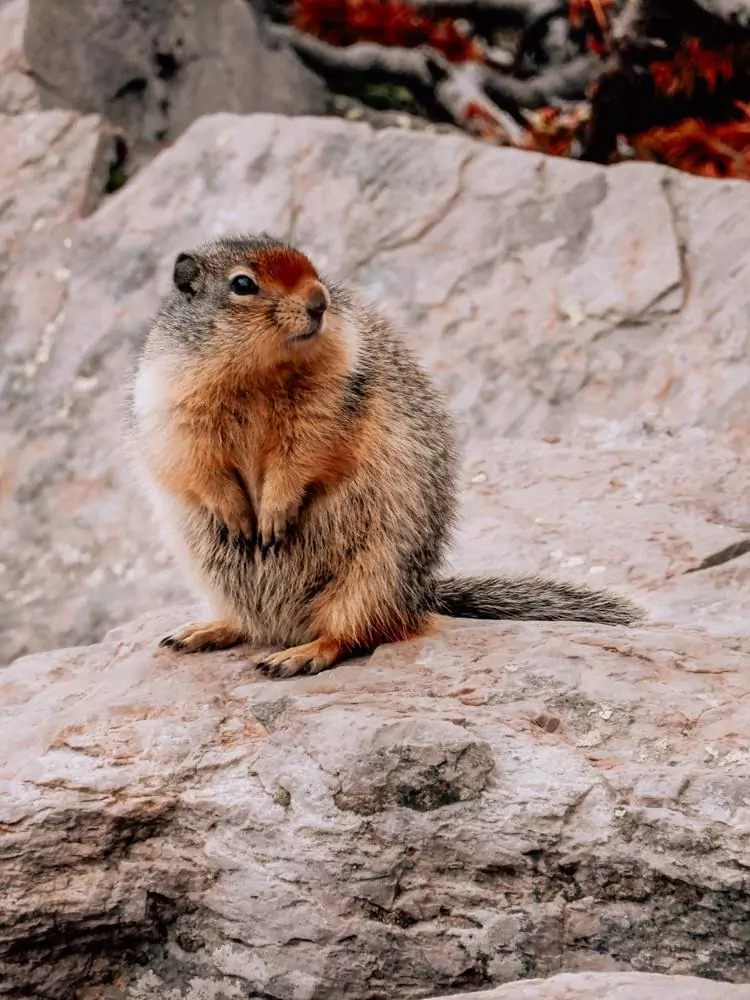
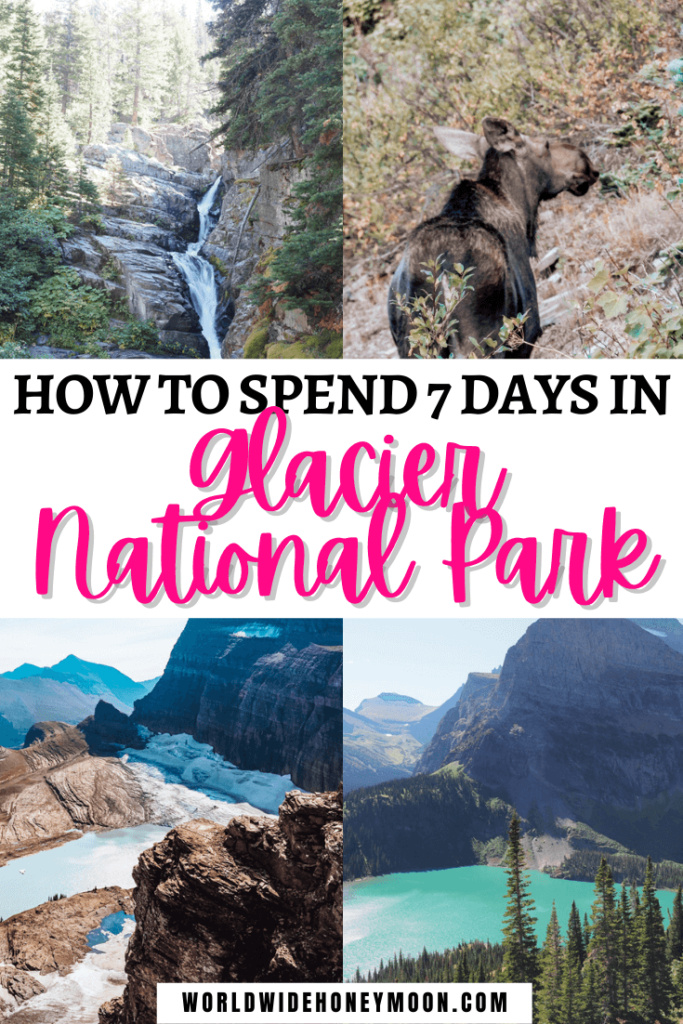
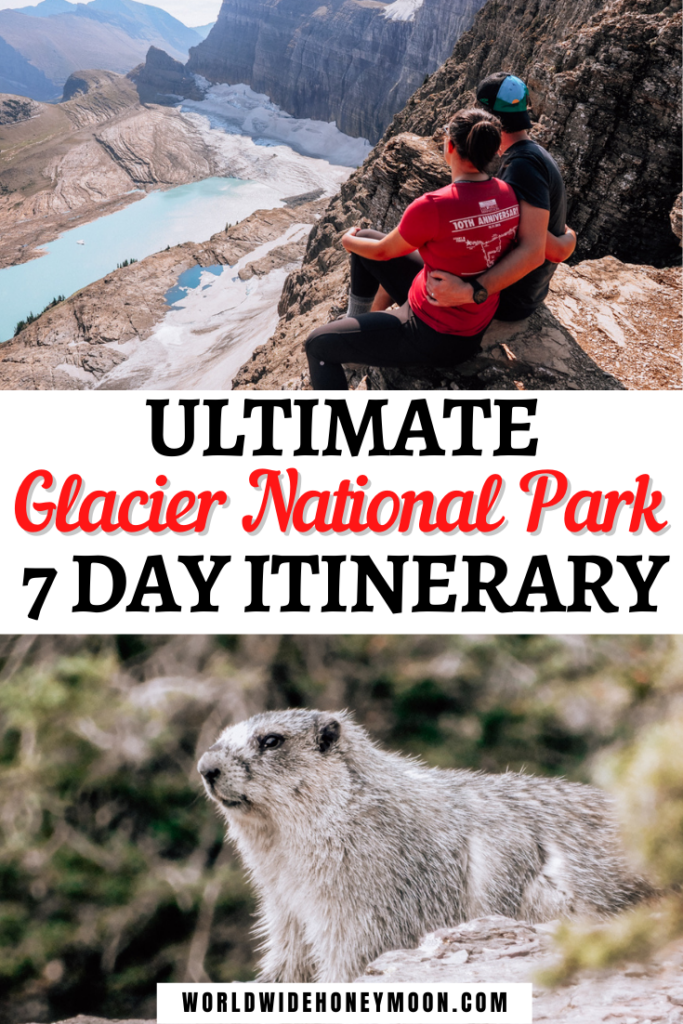
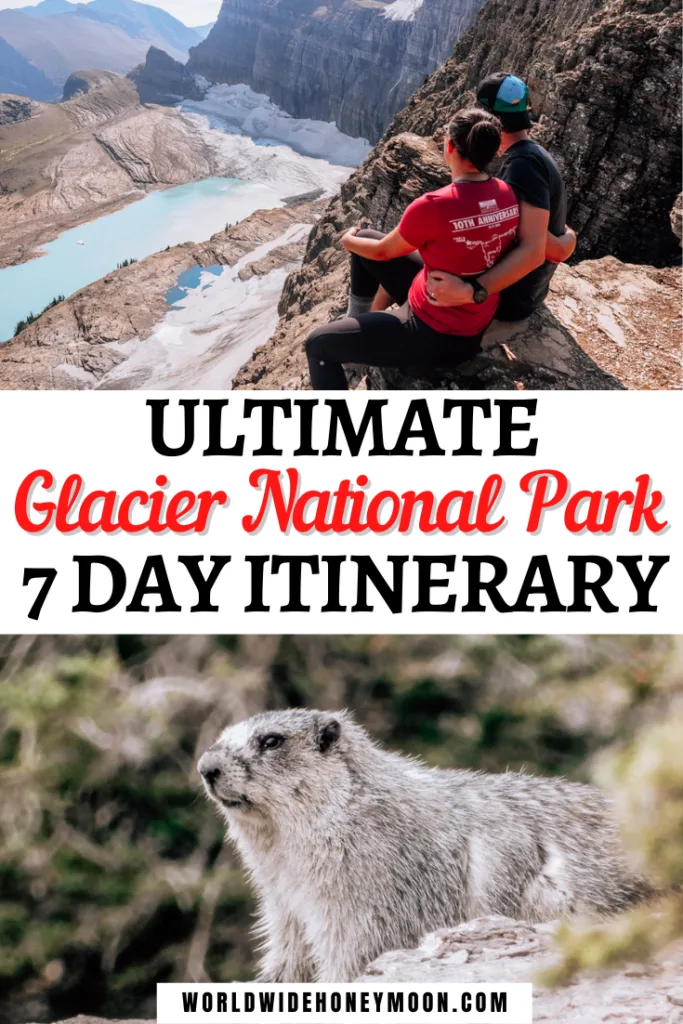
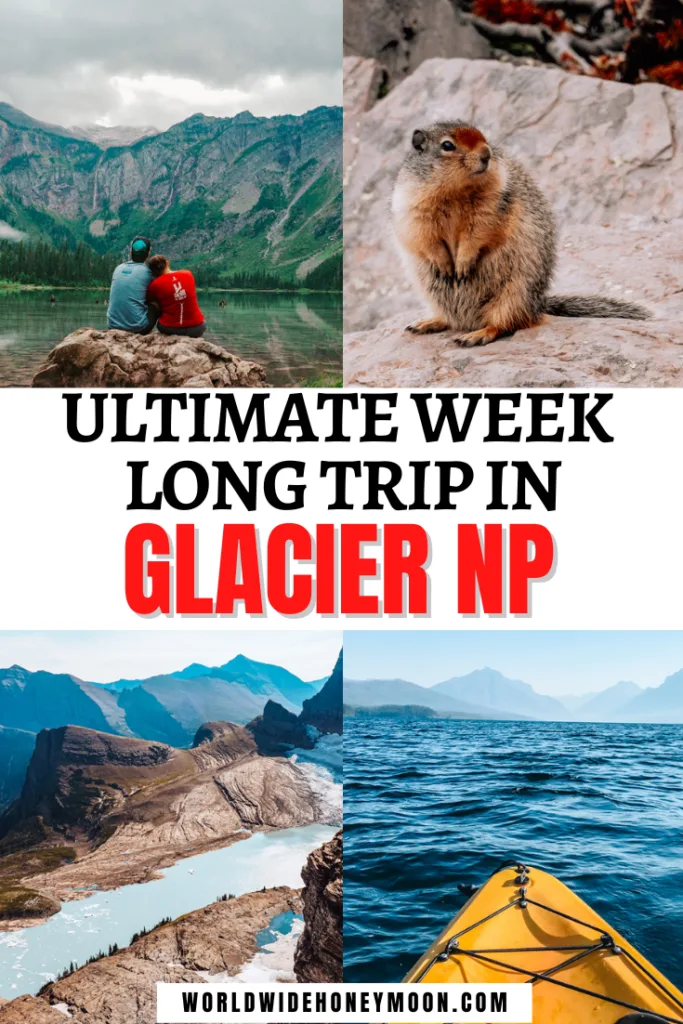
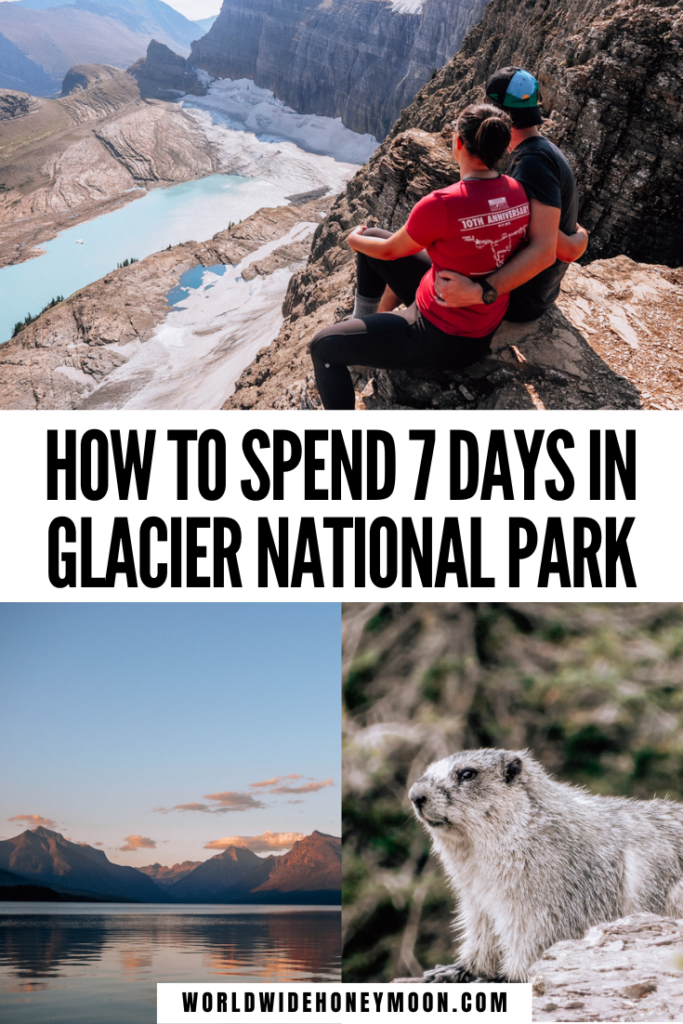
Also along the way, you’ll likely spot mountain goats, bighorn sheep, marmots, and some adorable ground squirrels! If you’re really lucky, you may even spot a moose or bear (hopefully at a safe distance), so be sure to carry bear spray on you at all times!


Very quickly into your hike, you’ll see a wall with a cable attached as this area isn’t very wide. So if you’re terrified of heights, don’t look down! There are steep drop-offs here.
After a steep switchback and some up and down hills, you’ll eventually hit Haystack Pass, a stunning place to take a break and take in the views.
Plus, shortly after this, you’ll see some wooded areas that make for a nice bathroom break along the trail!
Garden Wall Trail

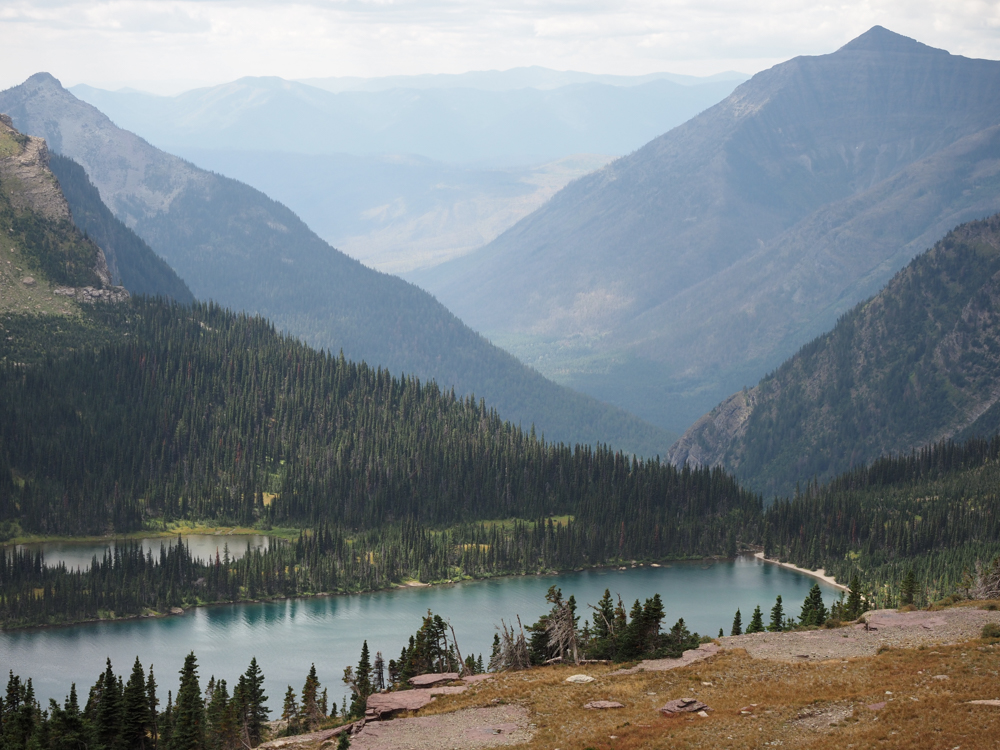
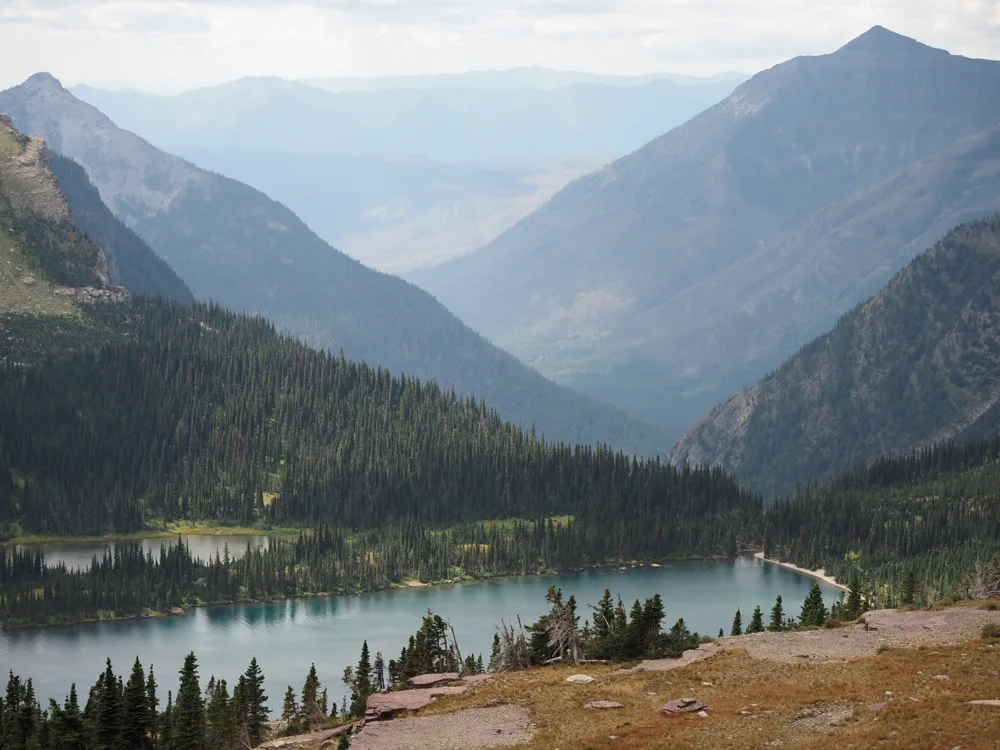
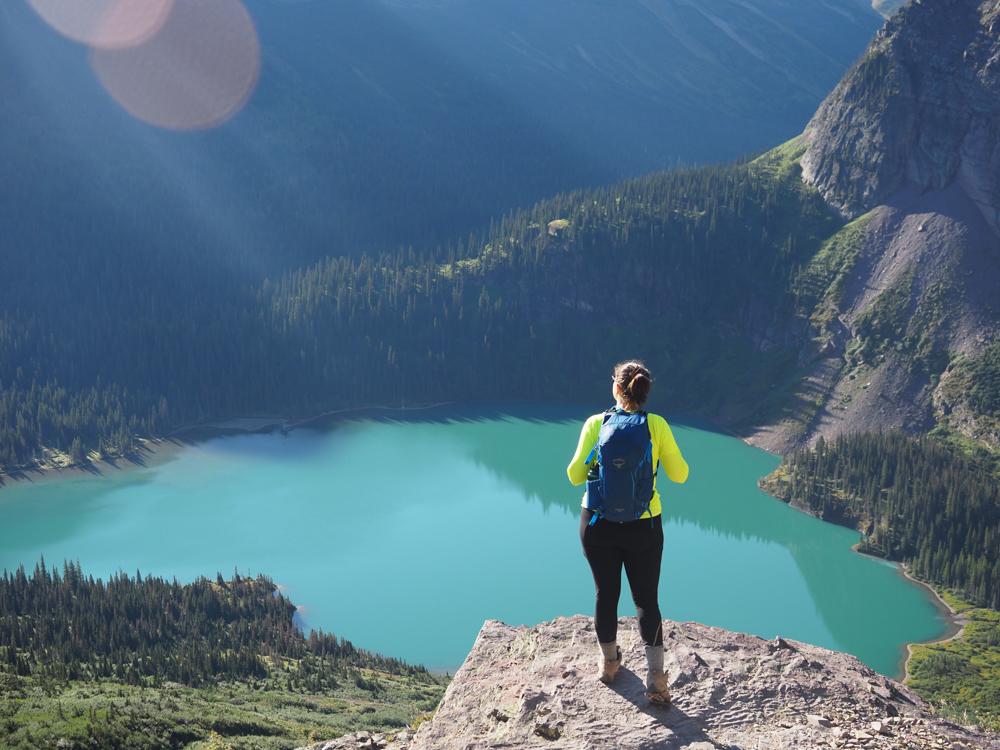
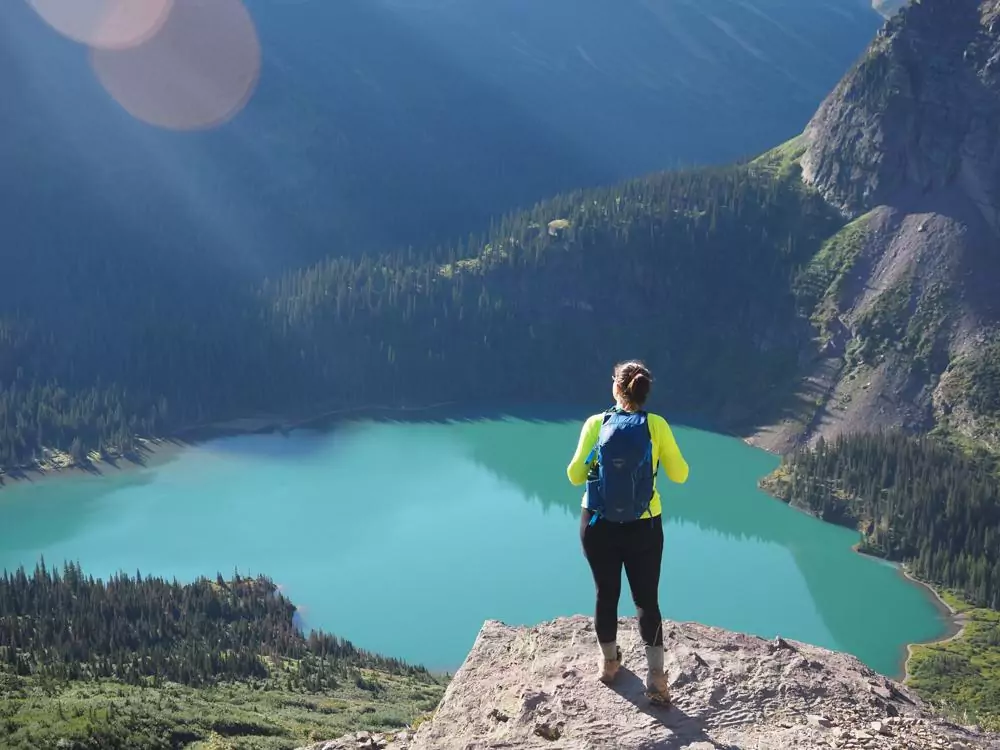
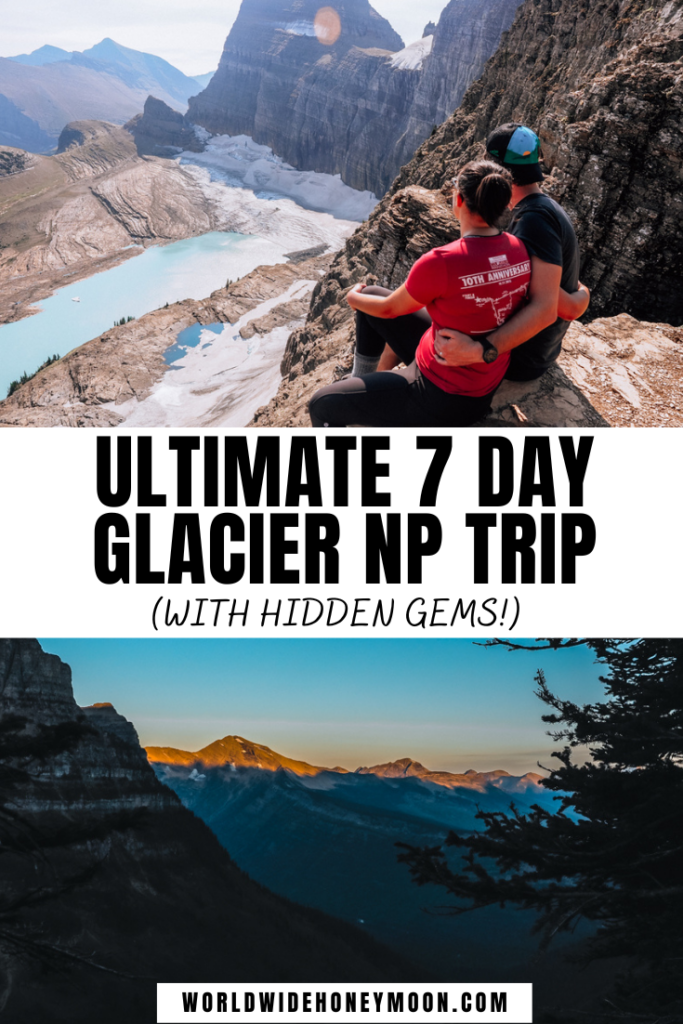
Then, you keep on going until you reach a fork in the trail. If you are so inclined, you can hike to the Grinnell Glacier Overlook along the Garden Wall Trail here. This 1.6-mile hike round-trip is easily the toughest part of the whole day.
This part of the trail reaches 900 feet in elevation gain in under a mile! It is seriously brutal. But take your time, take a lot of water and breathing breaks, and keep going. The views at the top are well worth it!

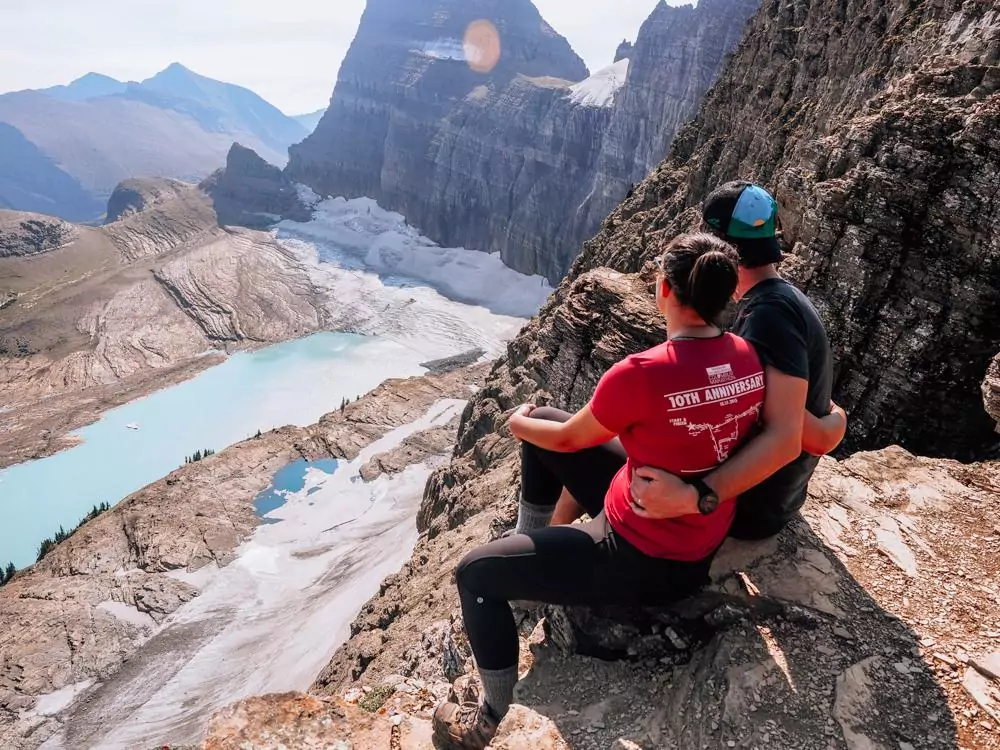
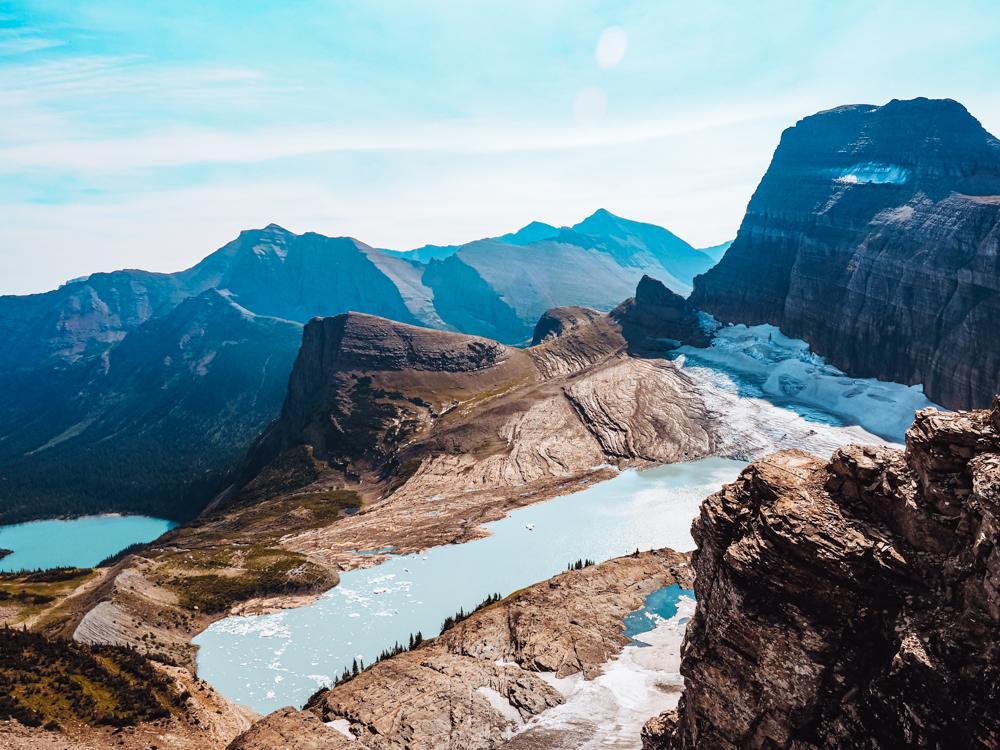

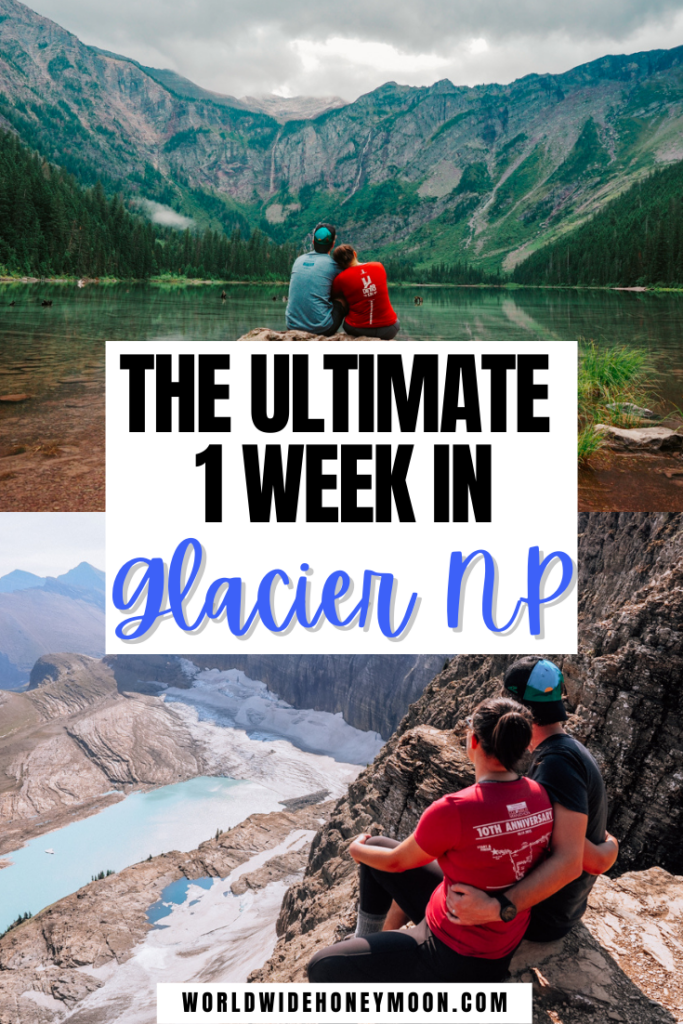
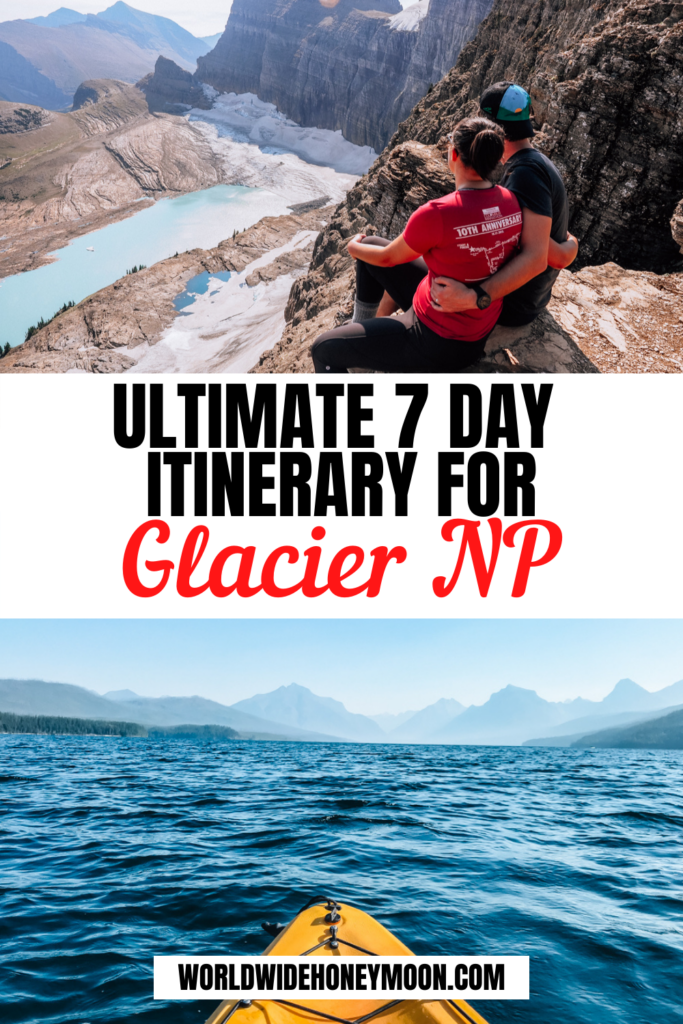
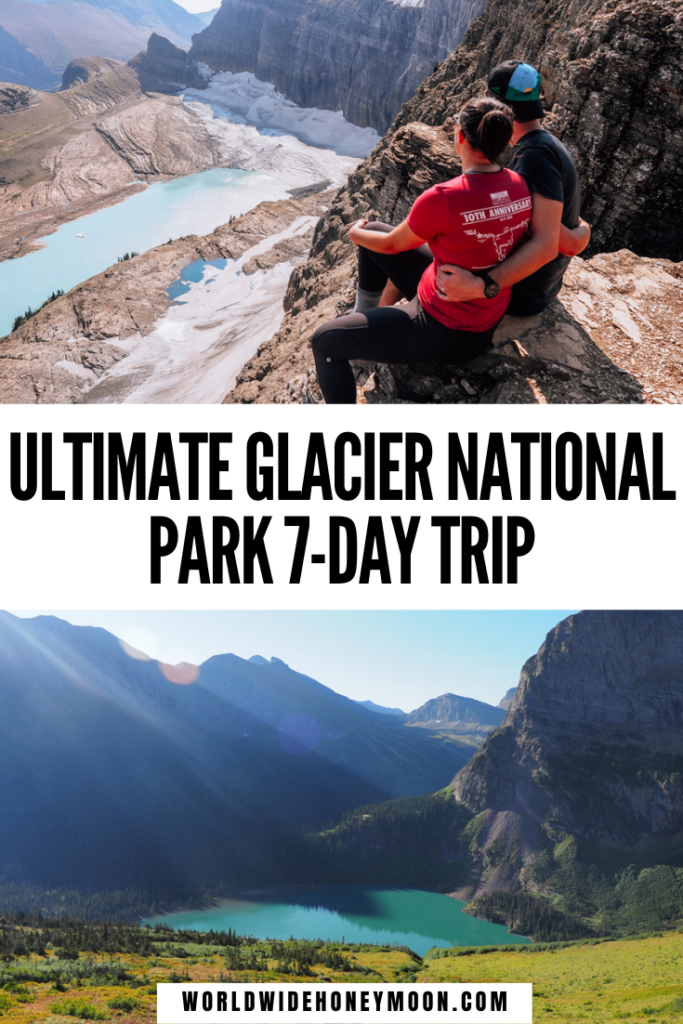
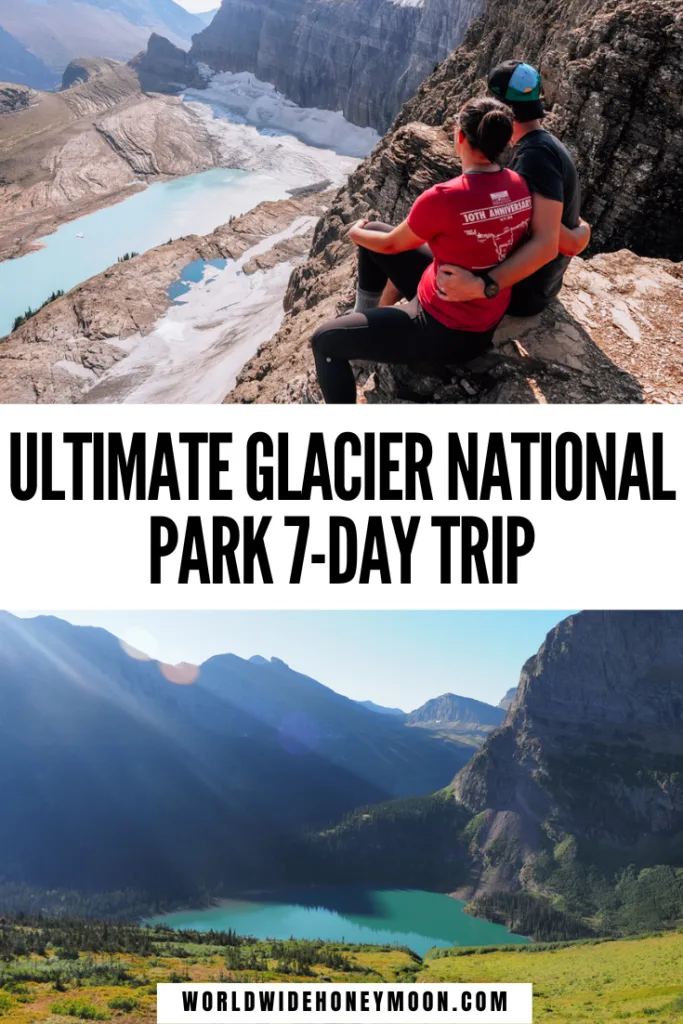
Honestly, most of the trail is lovely, but the Garden Wall to Grinnell Glacier Overlook is easily the best part. Yes, the hike up sucks, but once you reach the top, you’re rewarded with endless lake views and a bird’s eye view of the famous Grinnell Glacier.
This is a great spot to stop and enjoy lunch and snap a few photos of this iconic spot. You’ve earned it to stay awhile.


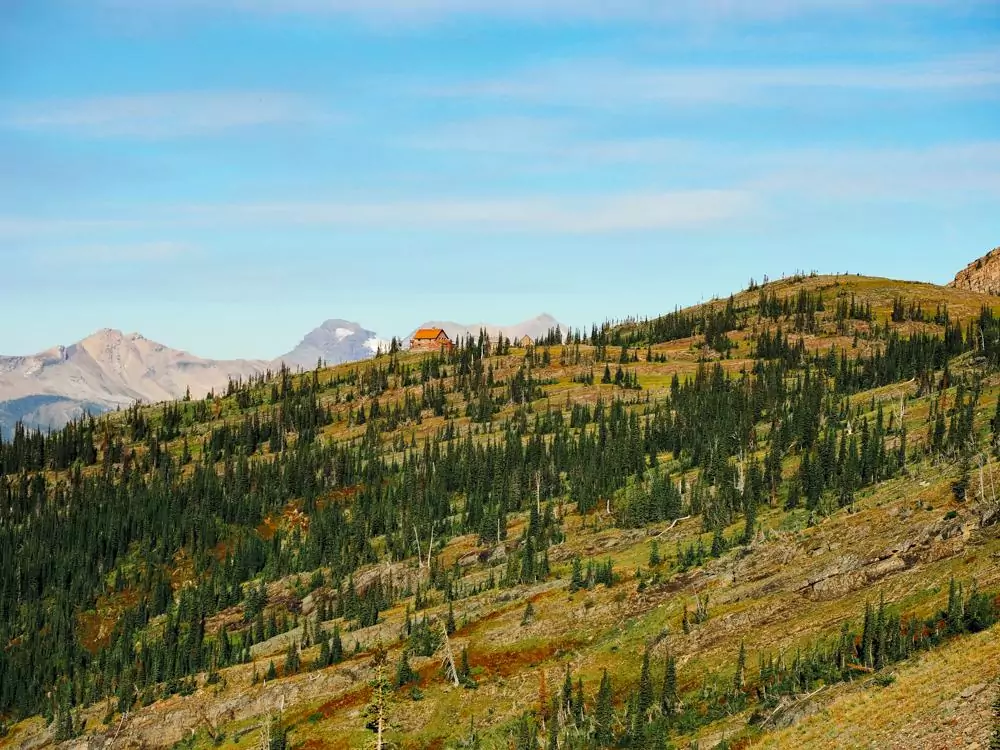
Granite Park Chalet and Coming Back
Then, when you’re ready, you can slowly and surely head back down the steep slope back to the Highline Trail and continue on to Granite Park Chalet.
At this point, you’ve hiked 7.4 miles to the Granite Park Chalet, plus an additional 1.6 miles for the Garden Wall. Once you reach Granite Park Chalet, I highly recommend restocking your pack.
Check your water. How full is your water bladder and bottles? Need some more? Now is the time to restock and purchase more water and snacks at the chalet before your hike back.


At this point, you can either hike 4 miles to The Loop and take the shuttle back to your car in Logan Pass where you started, or you can come back the way you came.
If you take the shuttle bus, your total hike today will be around 13 miles. If you just want a challenge as we did, we just turned around from the chalet and went back the way we came.
We ended up hiking about 17 miles that day and finished our hike around 5 pm. So it is definitely a long day!
However, it was well worth it!
Gunsight Saloon for Dinner

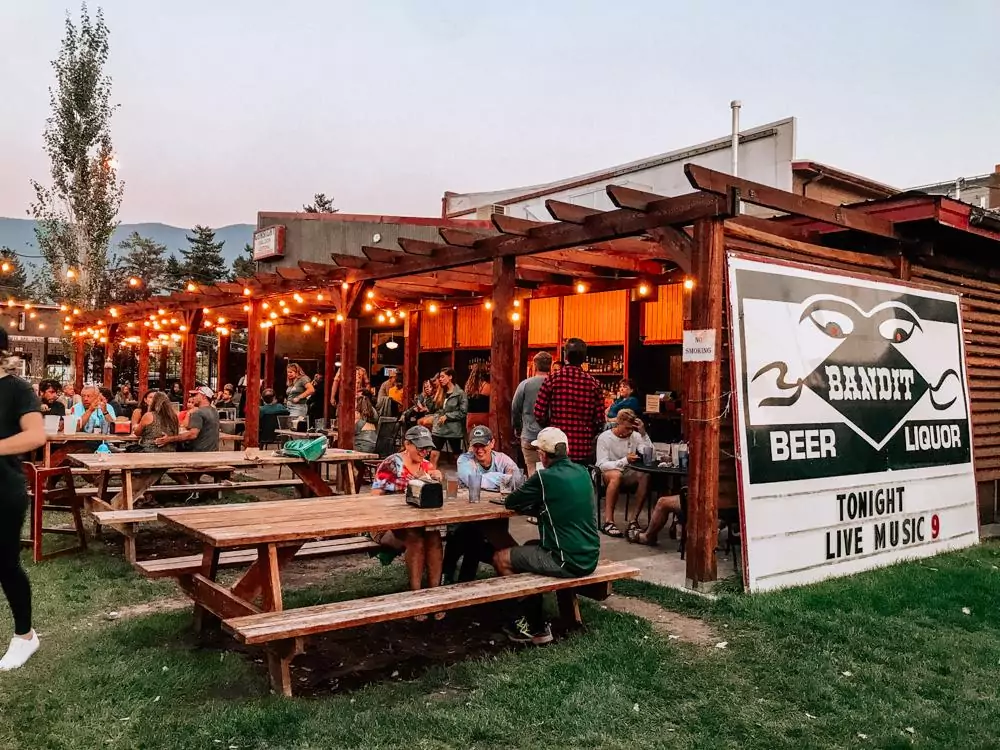
Calories already don’t count on vacation, but after hiking 13+ miles, it is time to enjoy something that isn’t trail mix or Uncrustables. Enter Gunsight Saloon.
Live music out back with ample outdoor seating? Check. Huge dinner portions of Mac N Cheese, fries, and burgers? Check. Old Fashioned on tap? Check.
Now that I’ve got your interest, once you’ve cleaned up, head into the adorable downtown area of Columbia Falls for an amazing meal at this place.
Order up a local brew or Old Fashioned on tap plus a huge dinner after your challenging day. It was all so worth it!
After that, it’s time for bed for a much more relaxing day.
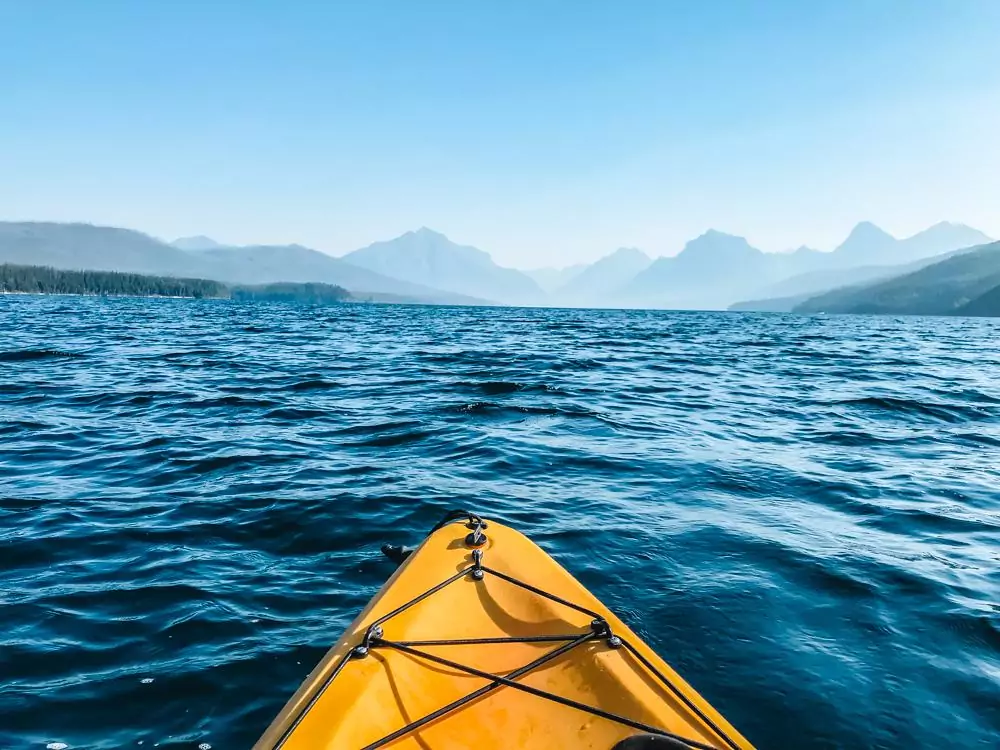
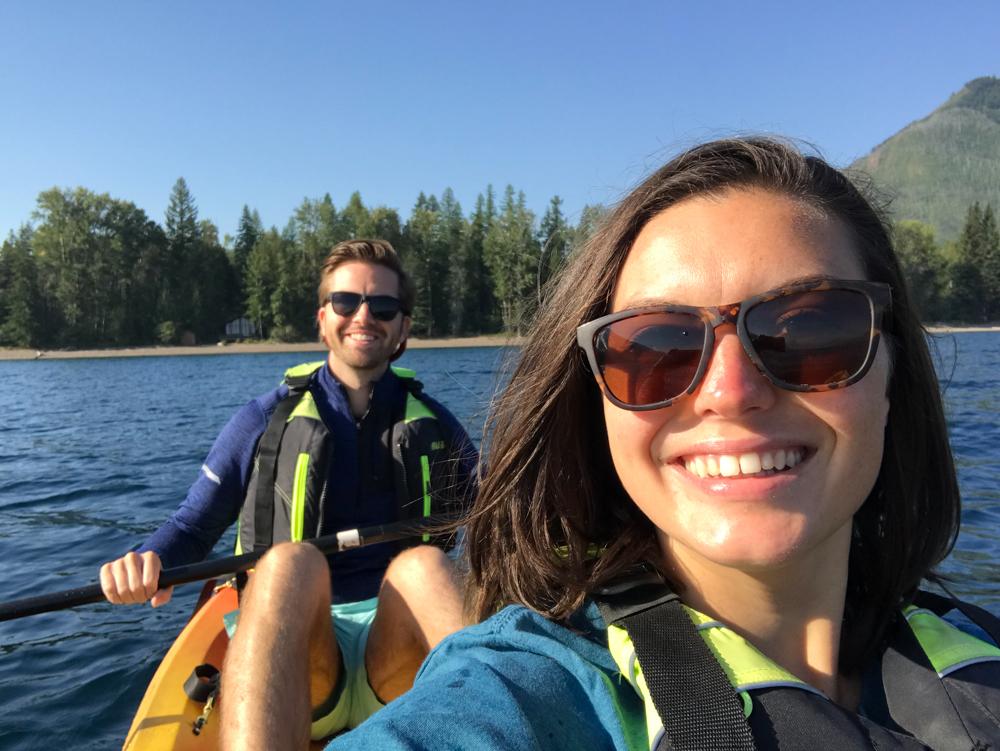
Day 3: Kayaking on Lake McDonald

Today is the perfect day to sleep in. Take your time, and maybe grab a coffee at Montana Coffee Traders or Cowgirl Coffee before kayaking on Lake McDonald.
Definitely reserve a spot in advance, but we highly recommend booking a 4-hour kayak with Glacier Outfitters in Apgar Village.
For $76 per tandem kayak, you have the boat for 4 hours to explore this massive alpine lake. Honestly, 4 hours was absolutely perfect. 2 hours was definitely not enough time and longer than 4 would’ve been a bit much.
We spent the morning exploring the beaches, coves, and admiring all the views around Lake McDonald in that amount of time.

Explore Apgar Village
Head back to Apgar Village to return your kayak and have lunch at Eddie’s Cafe. We loved their huckleberry margaritas, Going-to-the-SunThai Wrap, and black bean burger. The fries were definitely a must to order too!
After that, it is a great idea to explore the shops in the area. Find a fun souvenir to take home!
Then, head to the Apgar Visitor Center to get your national park passport stamped or learn more about the different areas of the park!
Stargaze at Lake McDonald
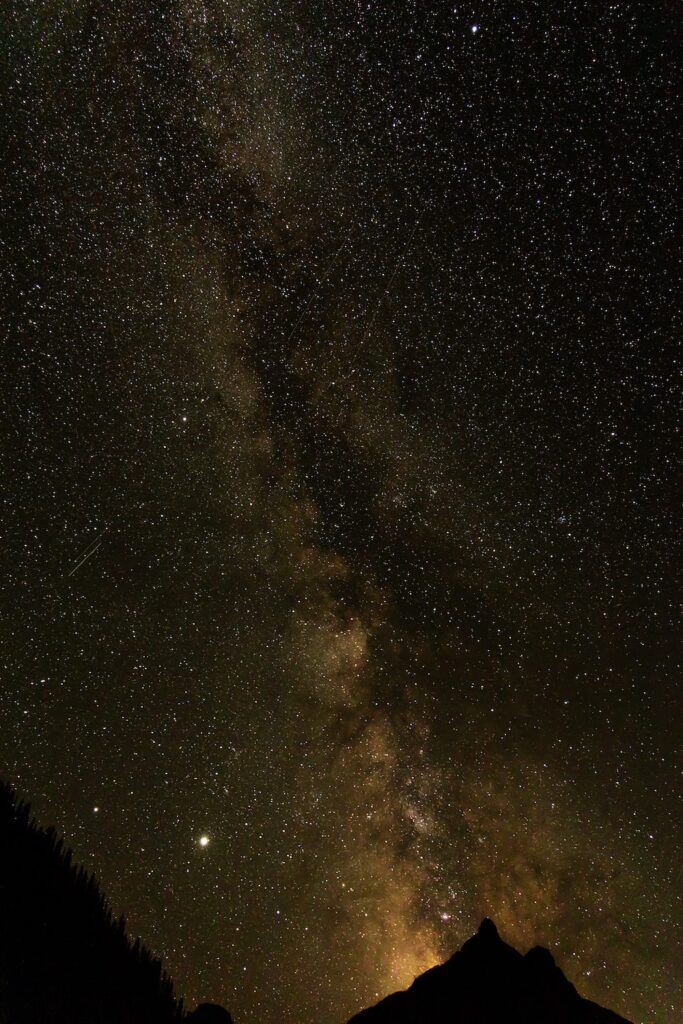

After all of that, grab a quick dinner before coming back to Lake McDonald for stargazing. As Glacier National Park is an international dark sky park, you’re in for some fantastic stargazing.
However, if you think you’ll spot the stars immediately after sunset, you’d be wrong. We found when we visited in late August that while the sunset is shortly after 8 pm, the stars really weren’t in full view until about 10 pm. So plan accordingly!
Day 4 of Your 1 Week in Glacier National Park: Rafting on the Flathead River

I know, it is halfway through the week and you’re still on the west side of the park. Trust me, we’ll get to the eastern part.
However, the western part of the park is known for things like water sports and is within easier distances to many hikes within the park. We’ll definitely head to the eastern part later this week, though!
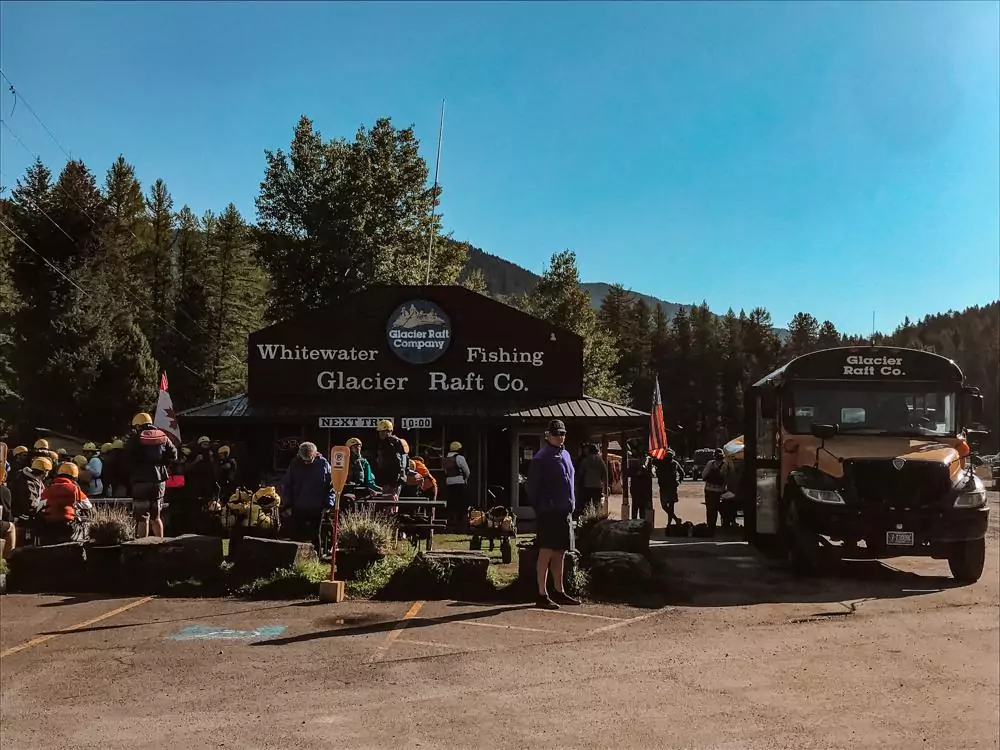
But today, to kick off your last full day in the western part of the park, you’re going to go white water rafting along the Flathead River!
We found both half-day and full-day rafting trips with Glacier Raft Company, but we found that the half-day was plenty of time and just as exciting!
This trip is family-friendly with class 2 and 3 rapids. I had never been white water rafting before and it was definitely thrilling but not too challenging. Just the perfect mix!
There is even an opportunity to hop in the glacier-fed water during a calm portion of the river. Definitely do it if you can! It’s freezing but worth it!
Also, this place provides wetsuits if necessary, plus water shoes, fleeces, and raincoats to keep you warm and dry during your time on the river.
The price to do this was $81 per person and was about 3 hours long. Here is the exact tour we booked!
After that, we had a slower day of relaxing at our cabin, having a campfire, and then enjoying one last meal in the area at Backslope Brewing!
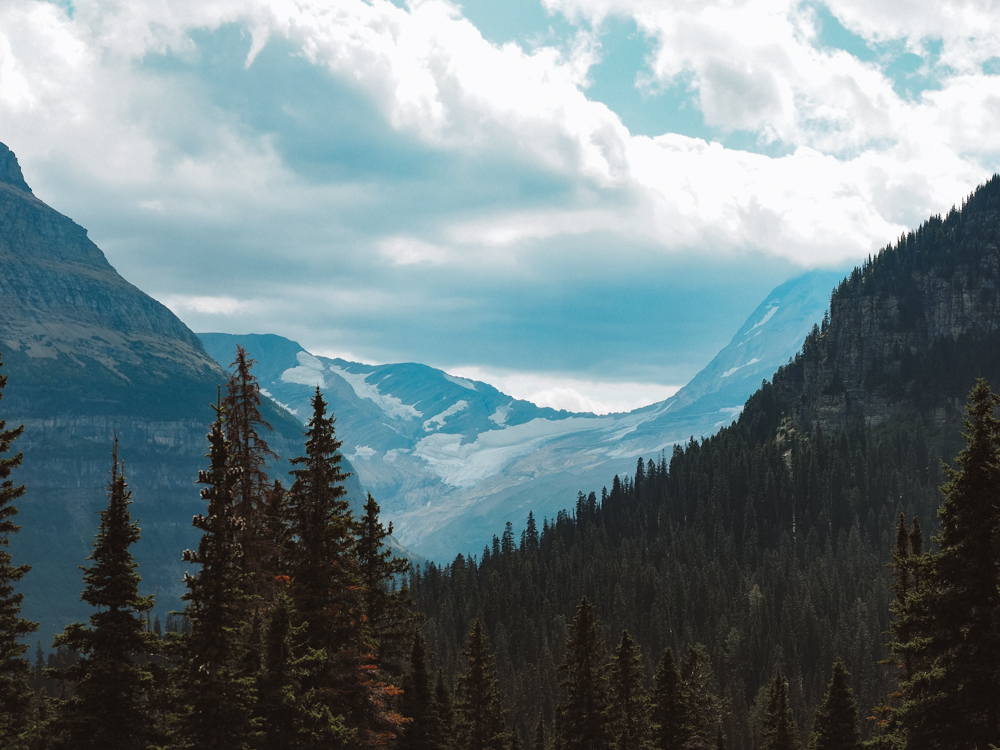
Day 5: Going-to-the-Sun Road & Stops On the Way
Driving Going-to-the-Sun Road is a must during your Glacier National Park itinerary in 7 days. Drive along mountains, inside tunnels, and even spot a glacier all during this 50-mile road trip.
And as this day you’ll transition from the west side of the park to the east side, it is only fitting to take this road all the way to the end!
This road isn’t open year-round due to snow, so be sure to visit between late June/early July and mid-October to have a bigger chance to drive the whole thing.
Aside from timing your visit correctly (we’ll talk more about this below), let’s talk about the stops you’ll want to make along Going-to-the-Sun Road. This isn’t just a day in the car. You’ll also be stopping for hikes and other cool views along the way!
PS– During summer, a Going-to-the-Sun Road pass is required for entry between 6 am-3 pm. It is recommended to purchase it 120 days in advance when tickets open up and the pass is good for 1 day. They also sell some of the passes 1 day ahead of time too. Entrance passes are $2 per vehicle for a 1-day pass. This does not include the Glacier National Park entrance fee.
As many days of this trip include driving on the Going-to-the-Sun Road, I’d purchase 1 for each day just in case.
Stop 1: McDonald Falls
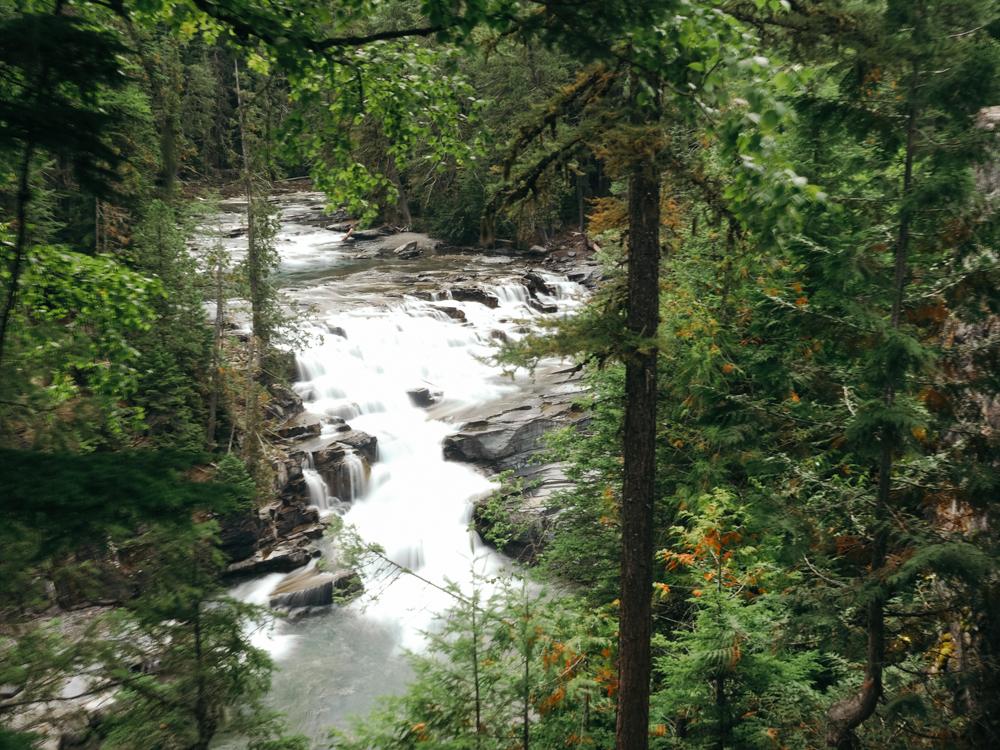

The first notable stop along Going-to-the-Sun Road during your 7 days in Glacier National Park itinerary is McDonald Falls. At mile 12.8, you can stop at the overlook to admire these falls before continuing on your way.
Stop 2: Avalanche Lake via Trail of the Cedars
Continuing on from McDonald Falls, you’ll head to the Avalanche Creek stop at mile 16.6. I recommend getting out here for your first hike of the day!
This iconic hike starts at Trail of the Cedars, where you’ll walk along a boardwalk surrounded by lush greenery and tall cedars. After a while, you’ll see the trailhead to Avalanche Lake, where you’ll go up a steep hill to the top of Avalanche Gorge.
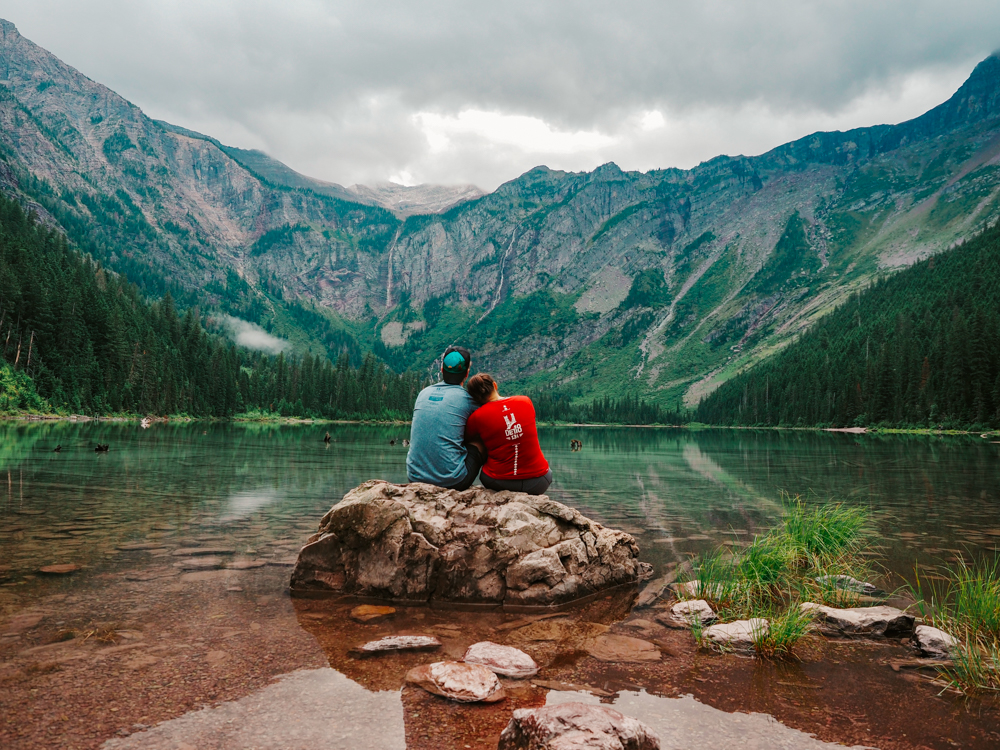

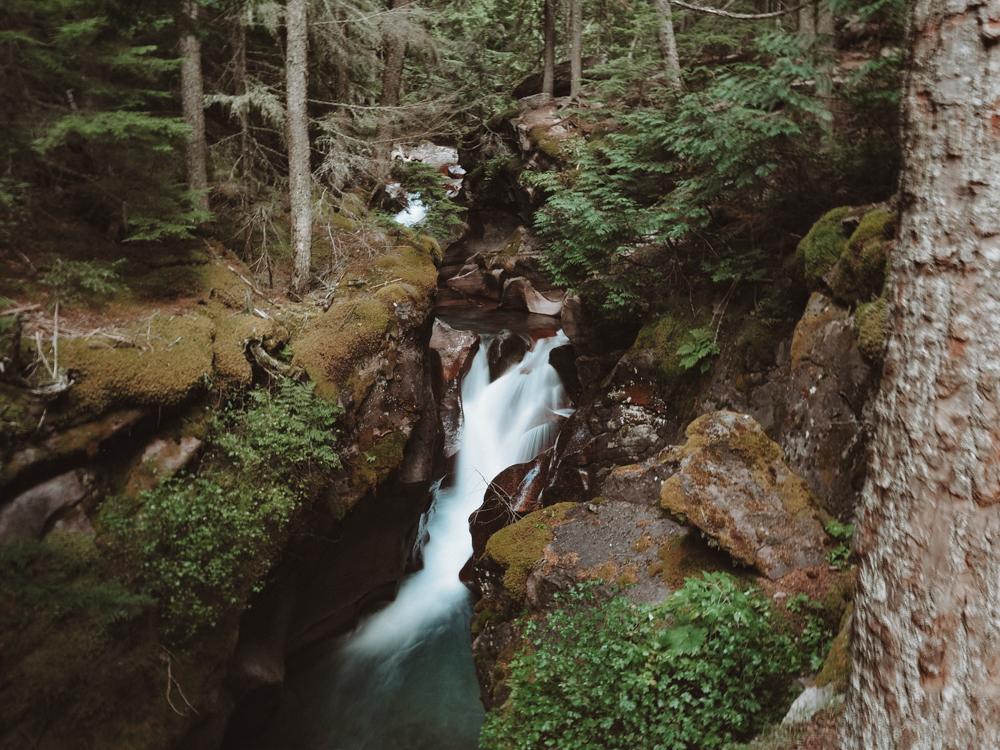

Here you’ll see rushing water as it winds its way along the gorge, carving through the rock as it goes. This area is beautiful but can be super dangerous if you aren’t careful. Be sure to keep a distance from the edge.
Keep going along the trail until you reach Avalanche Lake. This lake is one of the most beautiful in the park. With crystal clear waters, waterfalls tumbling from the mountains on the other side, and plenty of lovely places to sit and have a trail lunch, it is the perfect stop on your road trip today.
This is definitely worth the effort during your Going-to-the-Sun Road day! This hike round-trip is about 6.1 miles and can take between 2-3 hours to complete.
Stop 3: The Weeping Wall
After your first hike of the day, head back onto the road and keep driving past the iconic West Tunnel, past many switchbacks with stunning mountain views, and at mile 29.2, you’ll pass by the Weeping Wall. This section of the rock wall creates a waterfall from the snowmelt.
When we went in August, it wasn’t too wet, but it can easily splash your car on a rainy day or in the early summer.
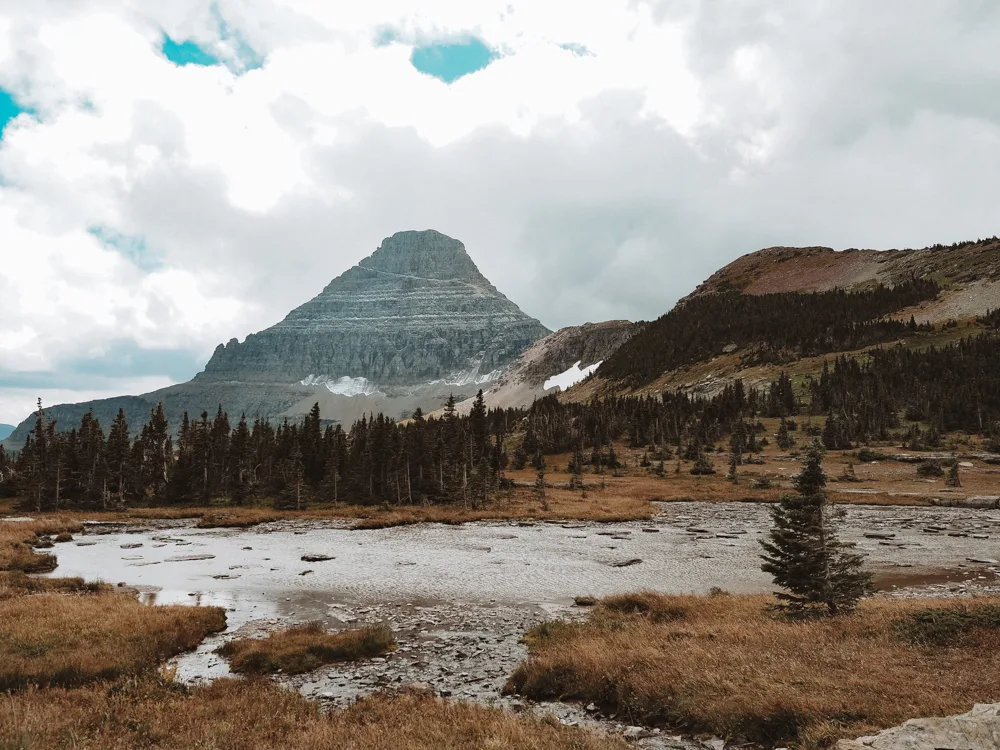
Stop 4: Logan Pass Visitor Center and Hidden Lake Overlook

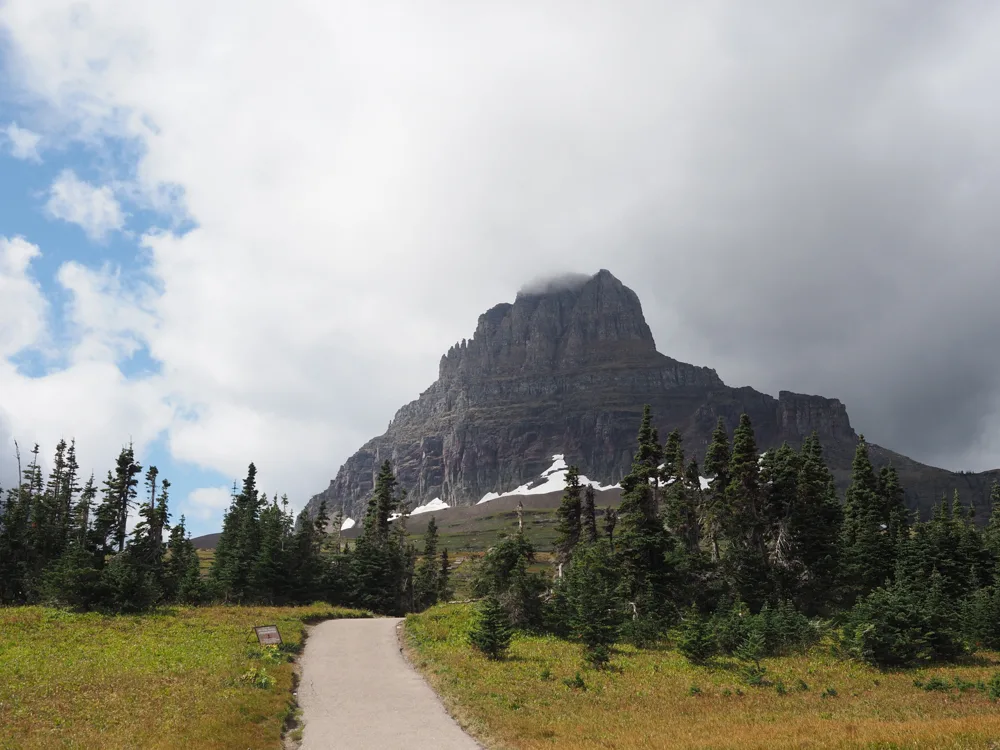
At mile 32.2, you’ll be back at the Logan Pass Visitor Center where you started your hike to Granite Park Chalet a few days prior. However, this time you’ll be taking another hike here!
You may need to circle around a bit for parking, as it’ll likely be closer to noon by this point. However, it isn’t impossible to find parking, as you’ll have many people returning back to their cars from earlier hikes in the area.
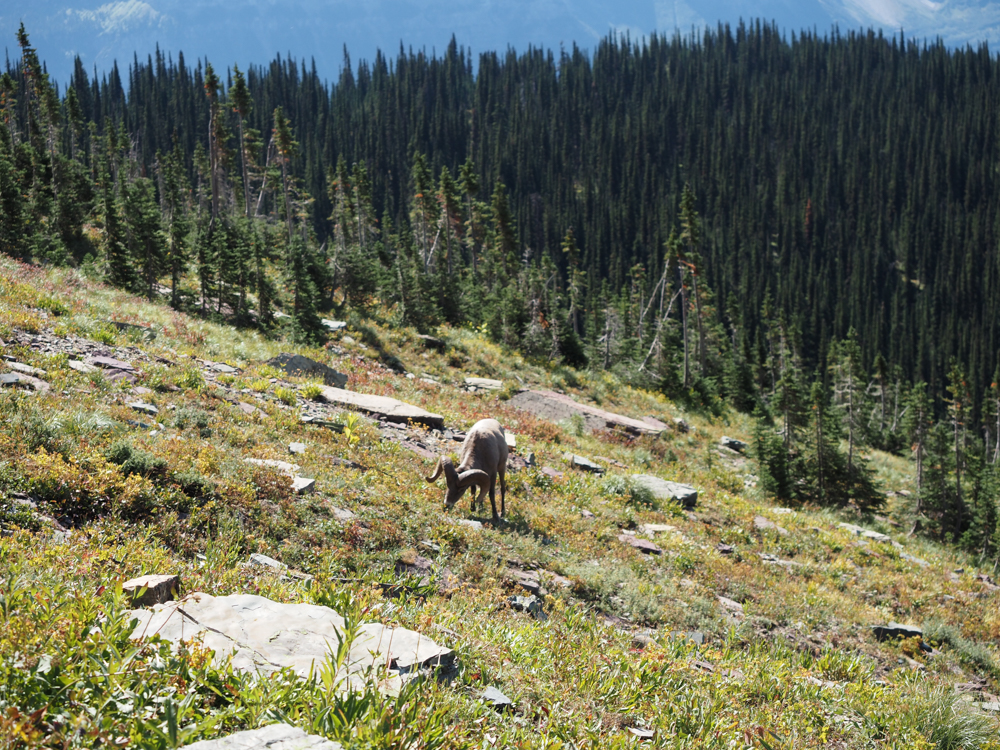
So find parking and head to the Hidden Lake Trail just past the visitor center. This trail is pretty steep going up, but there is a chance to spot wildlife along the way including marmots, mountain goats, bighorn sheep, ground squirrels, or even bears that frequent the area.
Also, the mountain views are divine! Then, at the top of the trail at 1.3 miles in, you’ll be at the overlook! It is a stunning alpine lake to witness and well worth the steep climb up!
Coming back down is much easier as it is mostly declining, and then you’re back at the visitor center. The hike takes about an hour and a half.
Stop in for a souvenir or amazing Glacier t-shirt before heading to your next destination.
Stop 5: Jackson Glacier Overlook
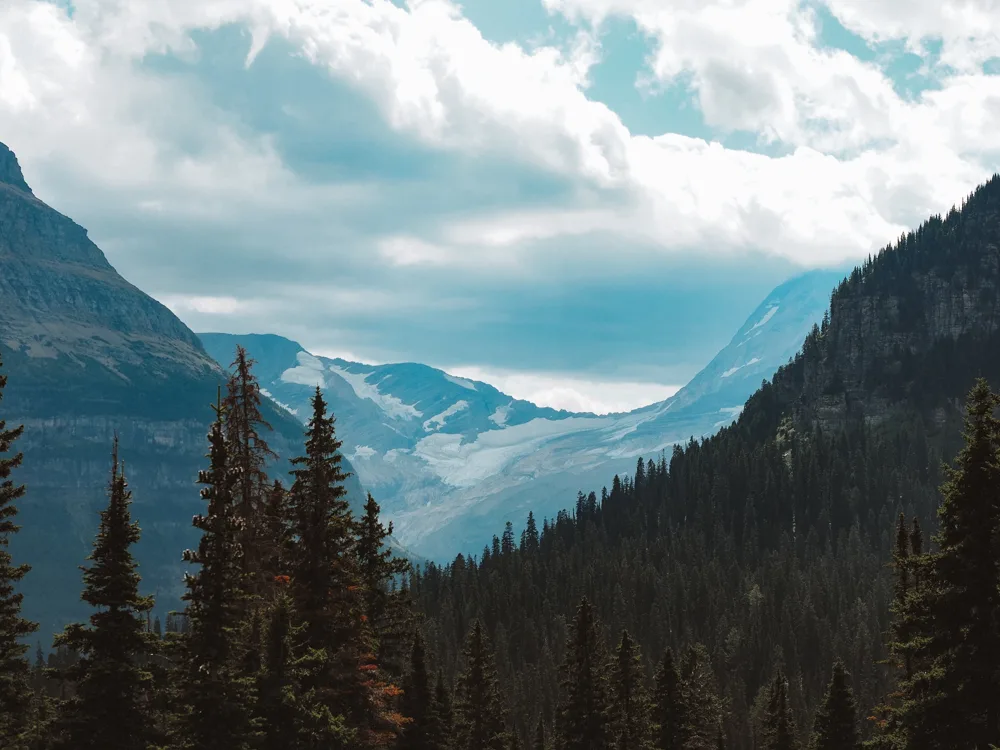
Continue on past the East Tunnel and on to Jackson Glacier Overlook, one of the only glaciers you can spot from Going-to-the-Sun Road and the 7th largest glacier in the park.
Read the sign all about it as you admire this dwindling glacier from afar. Find this at mile 37.6.
Stop 6: St. Mary Falls

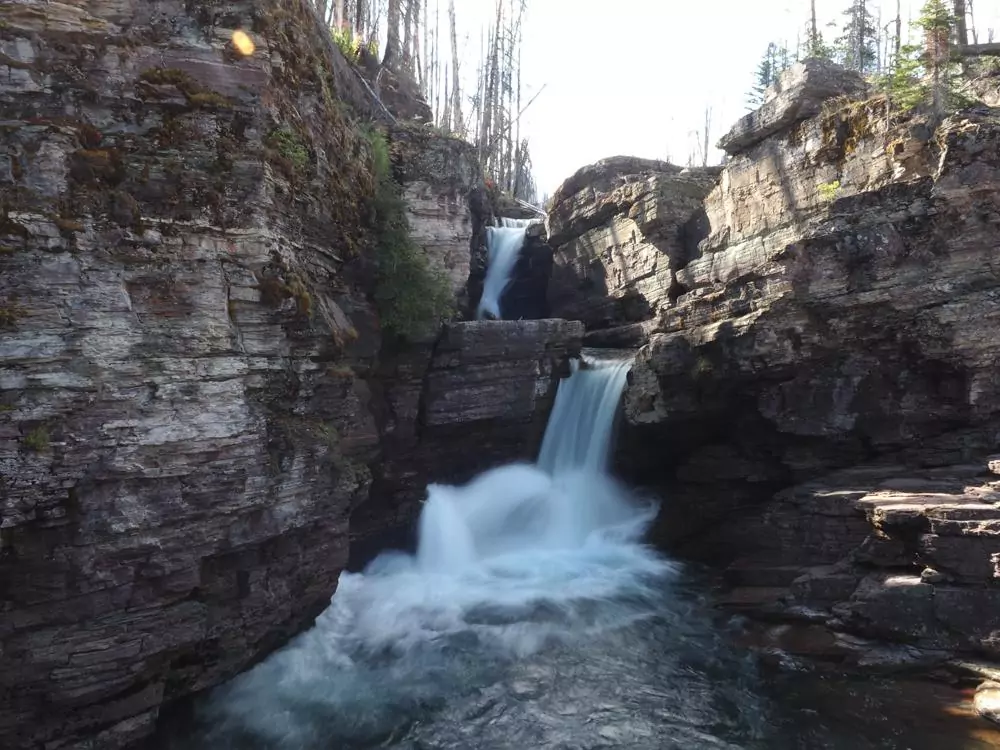
As you wrap up your adventure along Going-to-the-Sun Road, it is time to explore a waterfall or two at St. Mary Falls, located at mile 39.4.
At this point, you’re reaching late afternoon, so if you just wanted to do the 2-mile round-trip to see St. Mary Falls, that’d be well worth it!
However, if you want to do 3.4 miles, you can visit both St. Mary and Virginia Falls. Either option is great! We ended up just doing St. Mary Falls as the trail was a bit crowded and we were getting tired after a day of driving and hiking.
The falls were lovely, though, and a great second-to-last-stop on our Going-to-the-Sun Road day! It took about an hour and a half for the trail to St. Mary Falls and back.
Stop 7: Wild Goose Island Lookout

The last stop on Going-to-the-Sun Road you should visit is definitely Wild Goose Island Lookout! Located at mile 43.2, this overlook features a tiny island in the middle of the lake with mountains in the background.
Aside from being a great spot for sunset if you’re stretching out the day a bit longer, this place was also featured in the opening credits of The Shining. So if you’re a fan of Stephen King as my husband is, a stop here is a must.
Pro-Tips for Driving Going-to-the-Sun-Road
- Take your time. The total drive is only about 2 hours, but, as shown above, you’ll definitely want to make stops along the way!
- Fill up beforehand. If you’re driving, there are no gas stations along the route. So be sure to have a full tank of gas before you go!
- Going-to-the-Sun Road isn’t open year-round. In fact, it typically opens between late June and early July and closes in October due to snow. Check here for opening dates.
- You’ll need to have a park entrance pass to get in. This is $35 per vehicle and is good for 7 days.
- Bring your own food! There are restaurants at Lake McDonald, Apgar Village, and Rising Sun, but it is easier and cheaper to bring your own food.
- There are vehicle size restrictions for driving along parts of the road. You can’t drive anything over 21 feet long, 10 feet tall, or 8 feet wide on parts of the road.
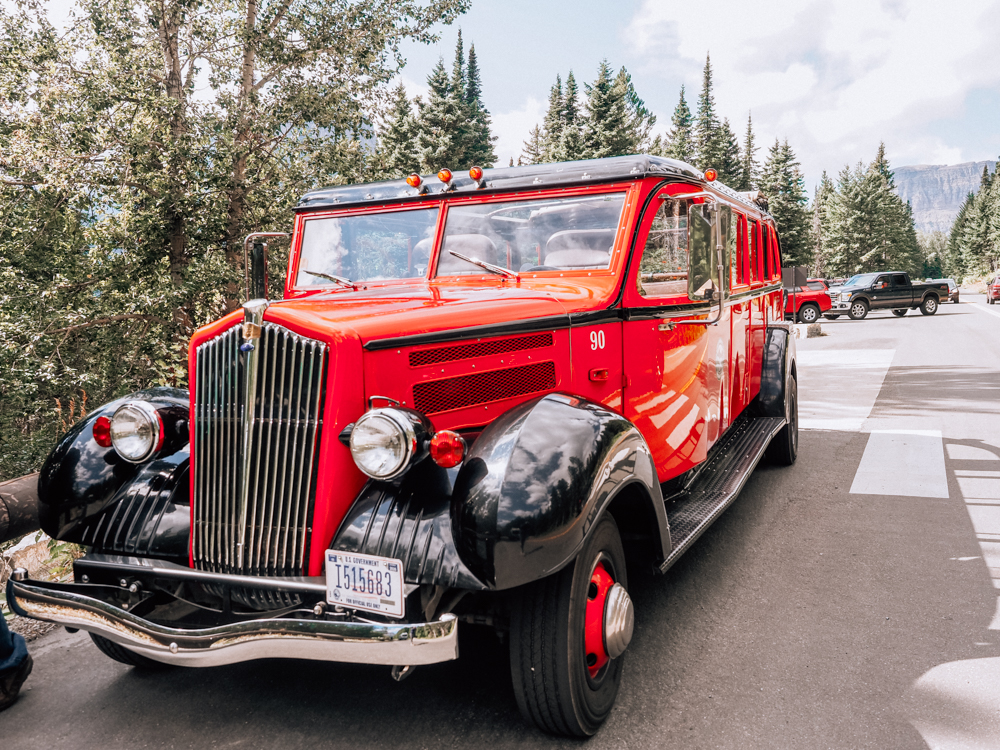
- You can take a shuttle tour instead. Don’t want to drive? Check here for shuttles around the park! Also, the iconic Red Jammer buses drive along the Going-to-the-Sun Road too!
Settle in on the East Side and Dinner

Now that you’ve driven the length of Going-to-the-Sun Road, it is time to settle in your accommodations on the east side of the park.
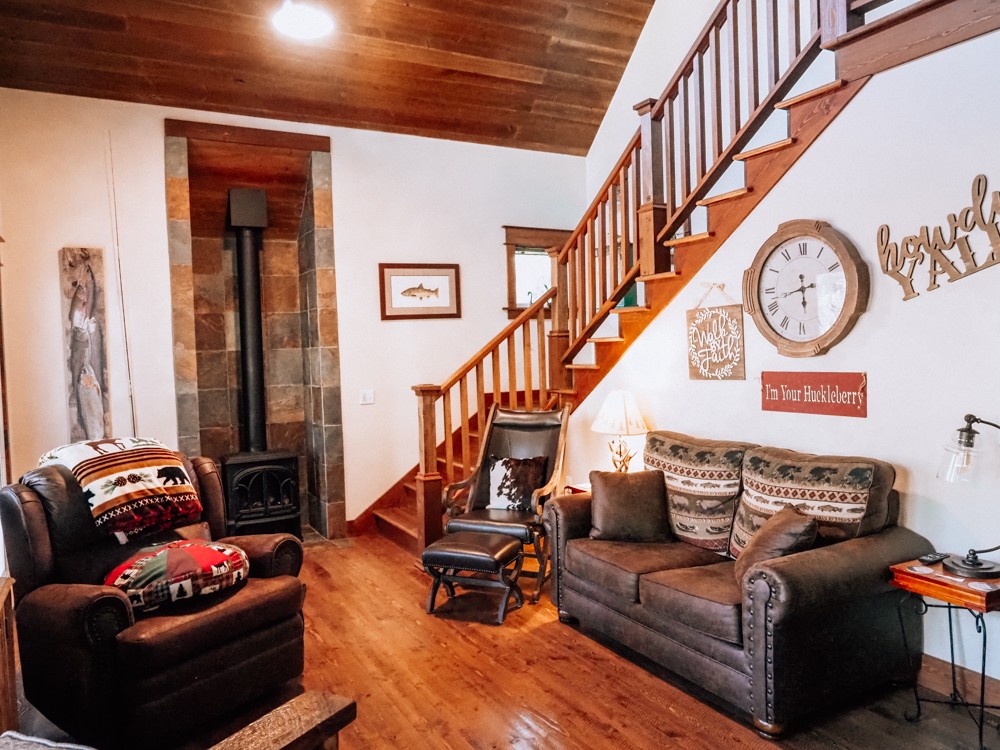
Again, for hikers like us, I recommend staying at a place where you can store food and do laundry. We booked this Airbnb in East Glacier Park Village and loved it!
There was a full kitchen, a cozy living room, and a fantastic loft room upstairs. With 2 bedrooms and 2 baths, we had plenty of space for 4 people during our trip.
There are also some great VRBOs in the area too!
After you settle in, be sure to head to Serrano’s Mexican Restaurant for some seriously tasty burritos, queso and chips, and huckleberry margaritas!
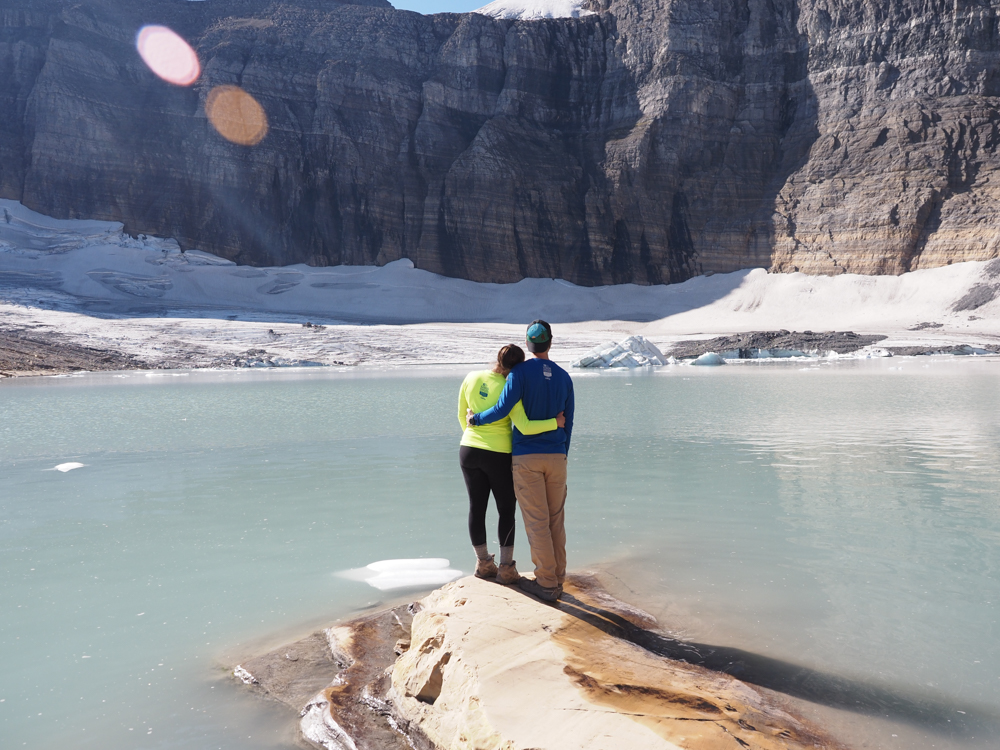
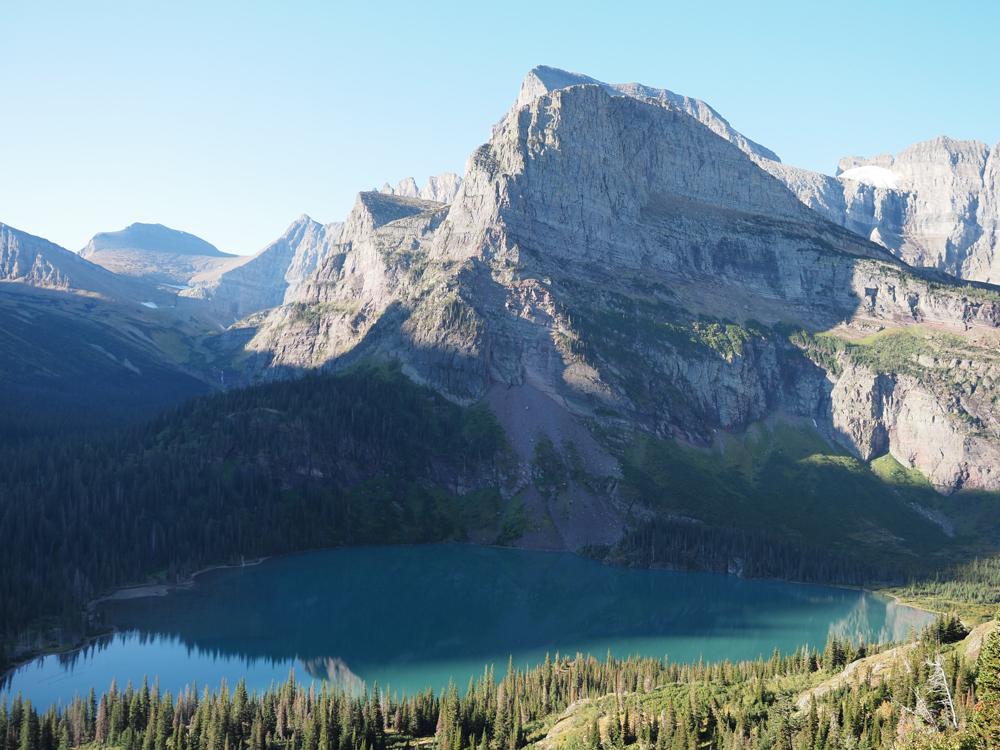
Day 6: Hike to Grinnell Glacier

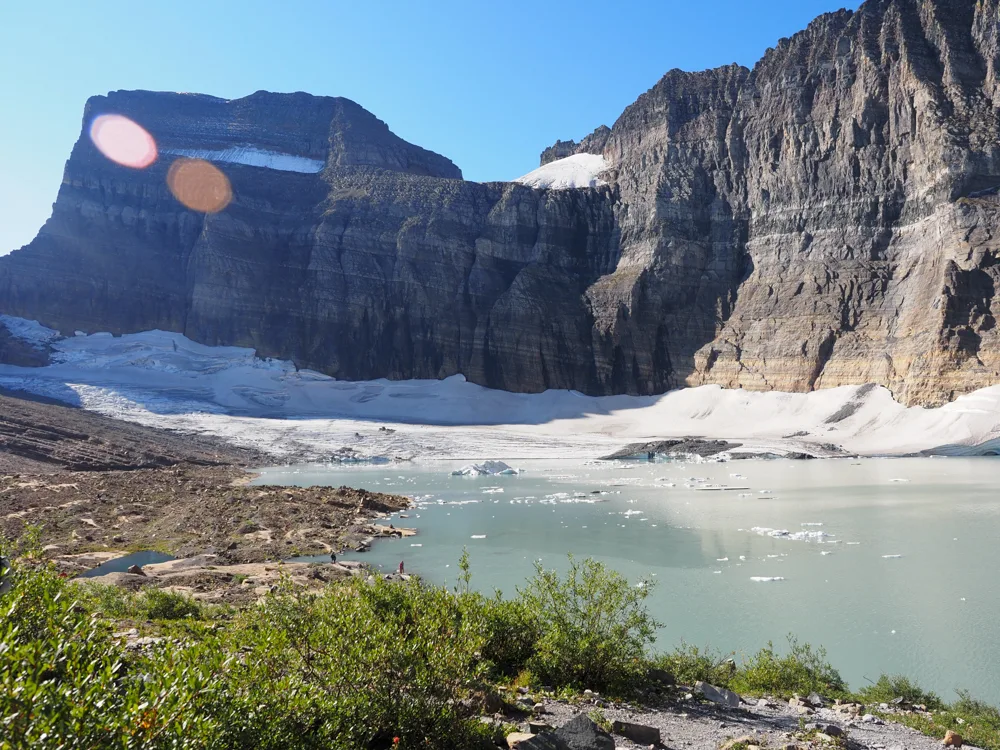
Today is another long hike day, but not nearly as strenuous as the Highline Trail and Garden Wall! Start your hike at the Grinnell Glacier Trailhead, just about a half-mile from the Many Glacier Hotel.
This 11-mile hike to Grinnell Glacier will give you up-close views of this beautiful natural wonder. As many glaciers are quickly disappearing around the park, a chance to see one this close is definitely worth the effort.
Park here early, as this parking lot is also full closer to 7 am.
While you can trim this hike down to 7.8 miles by taking the boat shuttles round-trip over Swiftcurrent Lake and Lake Josephine, you’ll need to book the shuttles well in advance.

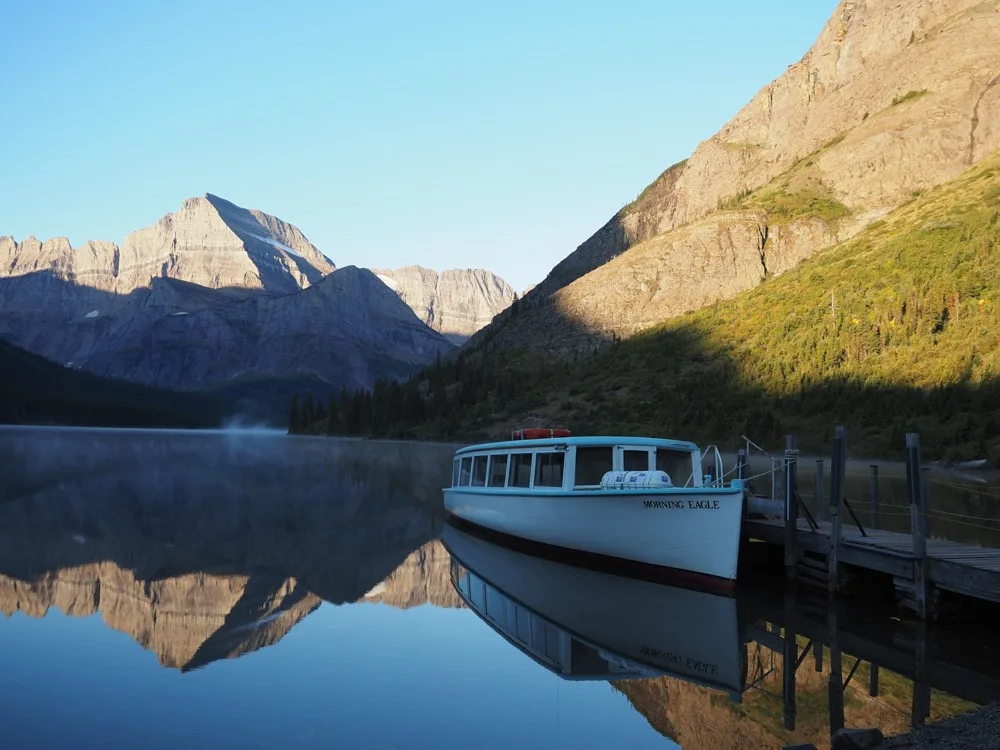
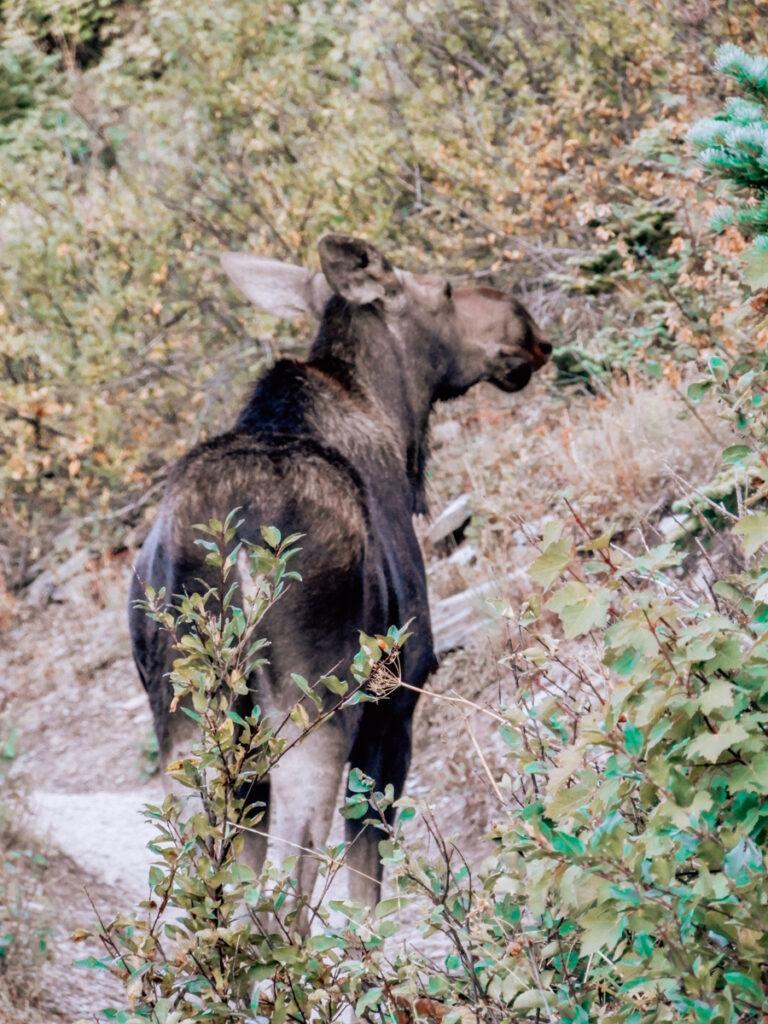
Honestly, though, I recommend actually just hiking past the lakes instead of taking the shuttle. Why? The wildlife here is next to none! So getting the chance to spot an animal on the trails makes it totally worth the extra mileage.
For instance, shortly into our hike after the boat shuttle launch, we spotted a moose on the trail. She kept walking along the trail so we followed her at a safe distance until she veered off and we could continue on our way!

You’ll then pass by Grinnell Lake with its turquoise waters that shine in the sunshine. And from the trail, you’ll even see Gem and Salamander Glaciers before climbing up the steep rock stairway ascent and passing a pit toilet while making your way to the main event: Grinnell Glacier.
Walk along the rocky crevices carved by glacial water as you find a spot to enjoy lunch near the glacier.
Watch small icebergs floating along the lake and potentially see the glacier calving with ice chunks falling into the milky blue water.
It was an incredible thing to see and a lovely spot to enjoy an hour or so before heading back down to the start of the hike.

Admire the Many Glacier Hotel
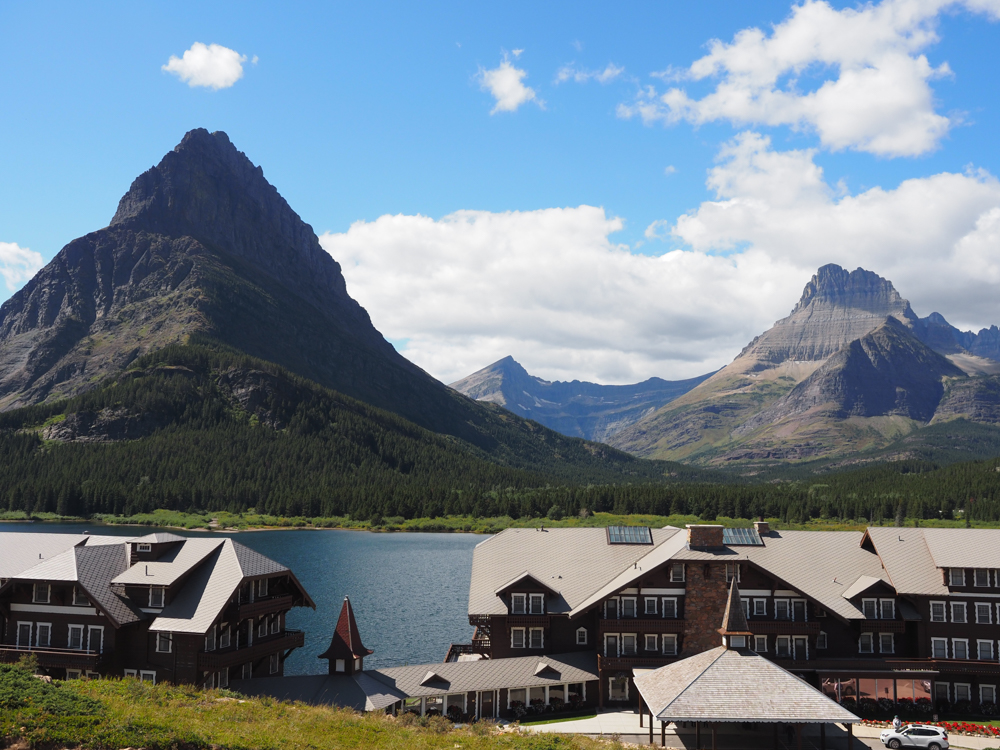
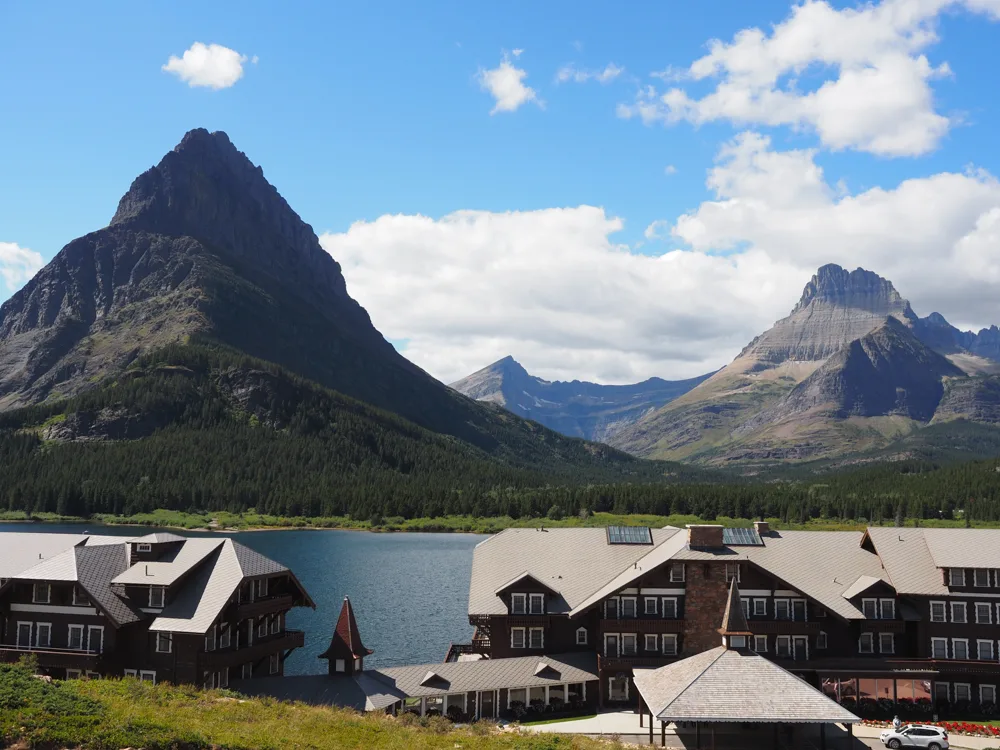
After a long hike, grab a coffee to recharge at the Many Glacier Hotel. Then, walk around the property, admiring this Swiss-chalet-inspired lodge on the shores of Swiftcurrent Lake.
The views along the lake are equally spectacular, with mountains not too far from the other side of the shore.
Dinner at Summit Mountain Lodge and Steakhouse

There aren’t many places to go out to eat on the east side of the park. This part of the park is far less crowded, but there are still a few great spots for dining out!
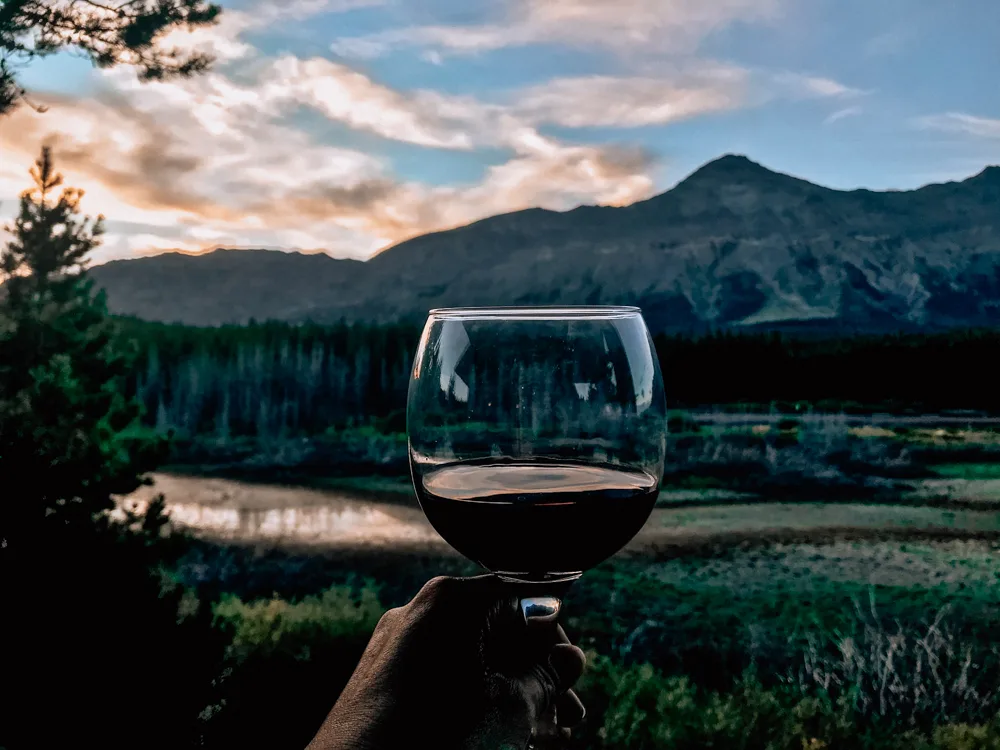
We found this gem by chance and were so glad we did. Dine out on the back deck that has stunning views of the mountains! You may even spot moose that tend to frequent the area.
The sunset here was delightful on its own, but the salmon with roasted garlic and red pepper sauce over parmesan rice was perfection, as was the chocolate cake with ice cream.
Pair this with a Caymus Conundrum red wine and you’ll never want to leave this incredible restaurant!
PS– During summer, a Many Glacier 1-Day Vehicle pass is required for entry between 6 am-3 pm. It is recommended to purchase it 120 days in advance when tickets open up and the pass is good for 1 day. They also sell some of the passes 1 day ahead of time too. Entrance passes are $2 per vehicle for a 1-day pass. This does not include the Glacier National Park entrance fee.
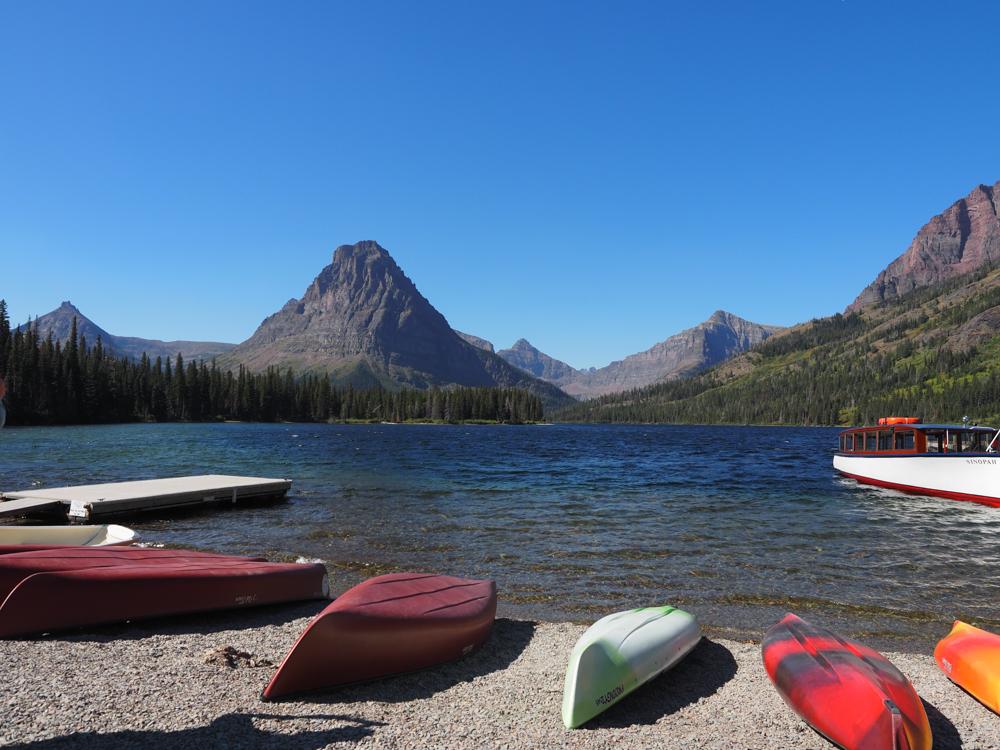
Day 7 of Your Itinerary for Glacier National Park: Explore Two Medicine Area
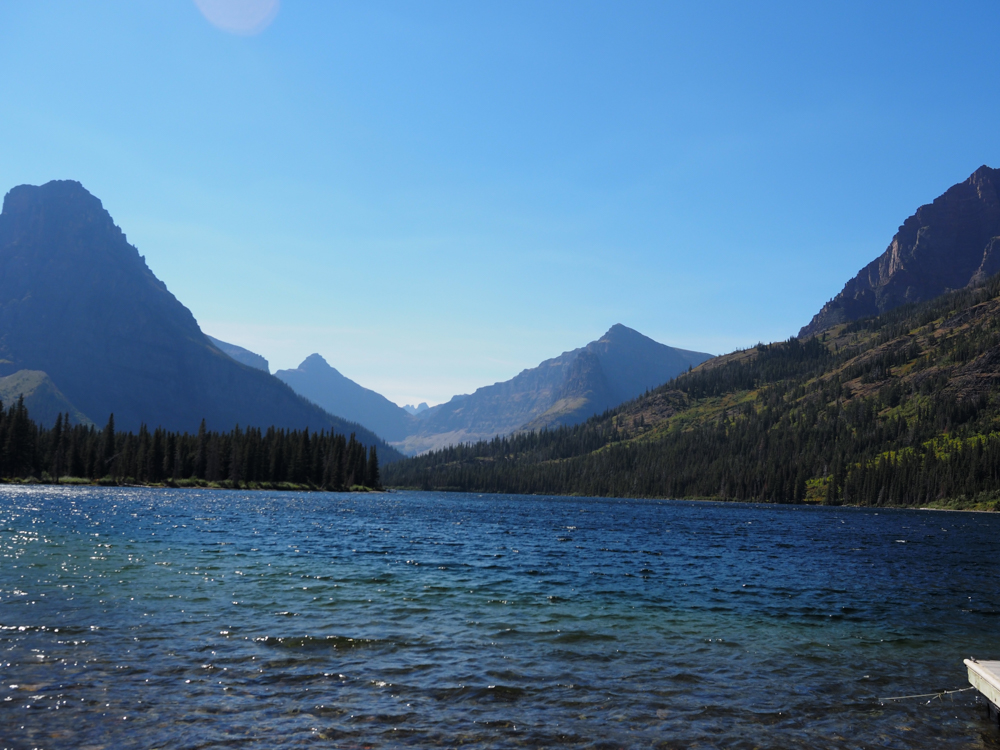

For your last day exploring Glacier National Park, sleep in and take in the day slowly. Have a slow cup of coffee on your front porch, and then get ready for your final hike.
Luckily, Two Medicine Lake is only about 20 minutes from this Airbnb, and as this area of the park isn’t nearly as crowded, parking isn’t hard to find.
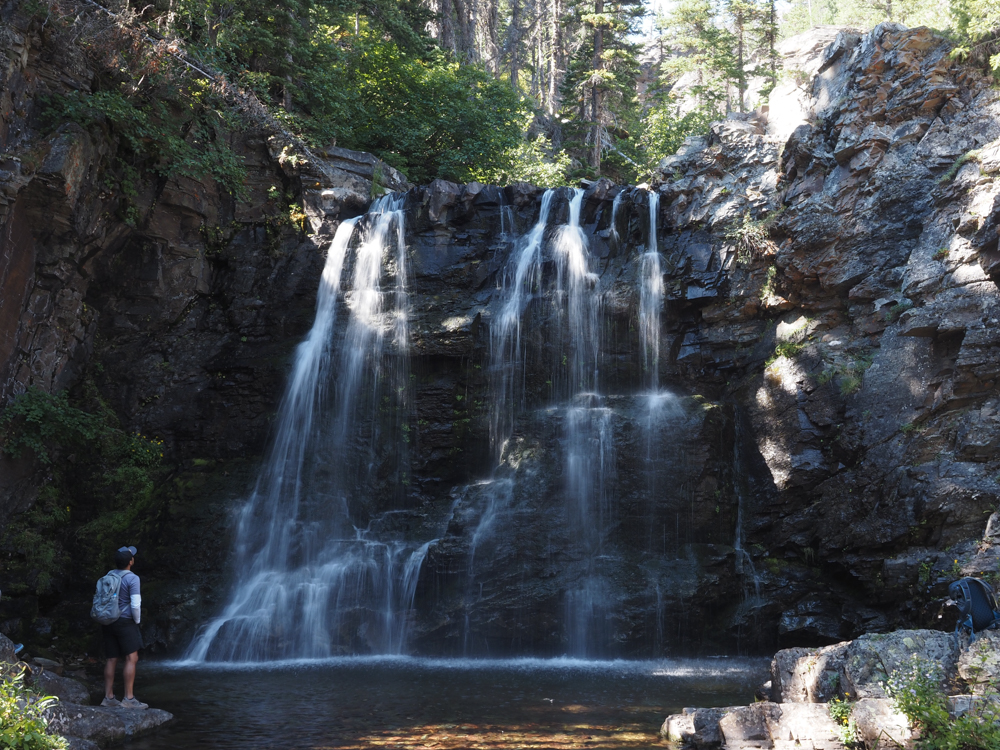
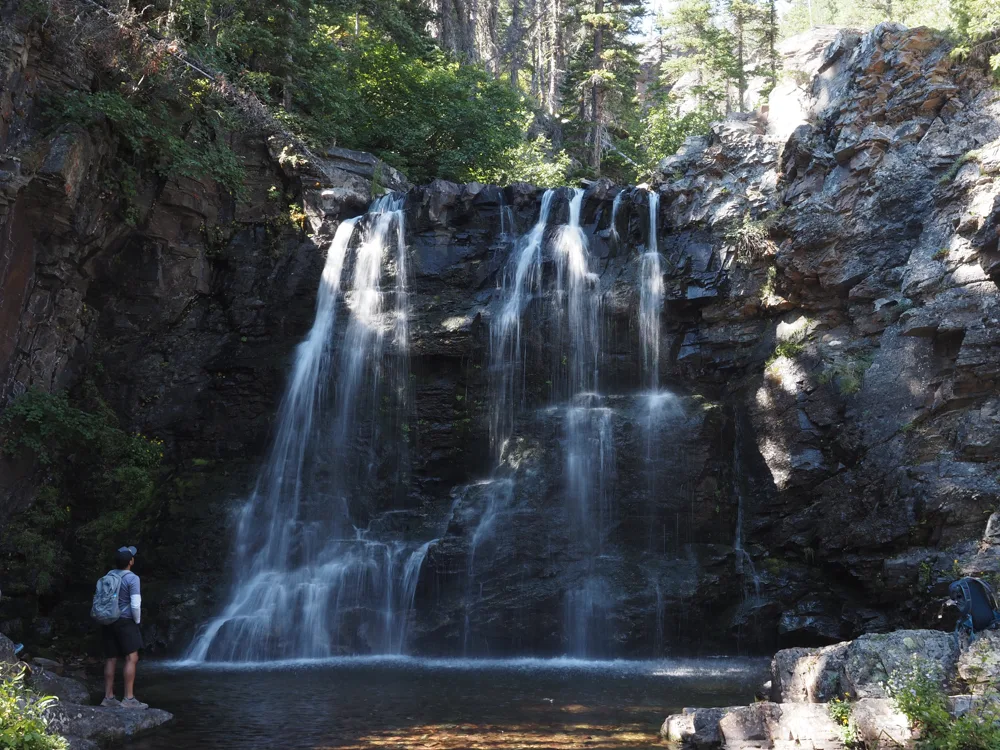
Today, you’ll hike to a couple of waterfalls! These easier hikes make for a great end to the trip! The hike to Rockwell Falls is a moderate hike and much easier compared to hikes you’ve done earlier in the week.
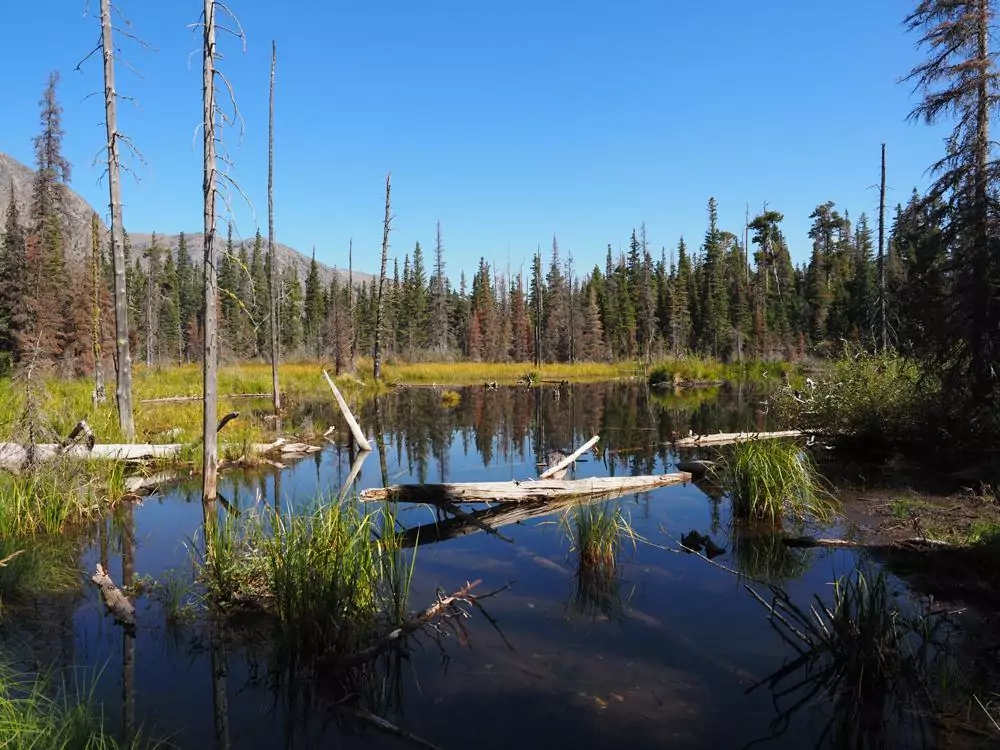
This 6.6-mile trail takes you through forests and beautiful meadows until you reach the falls. On the way, you can also add on another 0.2 miles to see Aster Falls!
Stay on the Two Medicine South Shore Trail until you reach Two Medicine Pass. After you reach Rockwell Falls, you can turn around the way you came to end your hike.
After that hike, just sit back and enjoy the views along Two Medicine Lake! This is your last day in the park, so snap some photos, enjoy the views, and take it all in.
If you want to add on another easy waterfall hike, you can also do the short and easy 0.6-mile Running Eagle Falls Trail as well!
After your last day hiking and exploring Two Medicine Lake, head back to the cabin to cook up a scrumptious meal, have some local Montana beers (we love the Huck It by Big Sky Brewing Company), and pack up.
After today, you’ll take the 1.5-hour drive back to the Glacier Park International Airport for your flight home.
It is tough to leave this beautiful place. Glacier quickly topped my list of favorite national parks and it isn’t hard to see why! I’m so glad we had a 7 day itinerary for Glacier National Park because there is so much to see and do!
With glaciers and glacial lakes, stunning peaks, and incredible hiking and wildlife, a stay here is always a fantastic time!

PS- Check out the podcast episode all about Glacier here!
What to do if Your Glacier National Park Itinerary is Less Than a Week
Okay, while I highly recommend spending 1 week in Glacier National Park, that isn’t always feasible. This is a popular park to add to a Yellowstone itinerary or you just don’t have a week to take off for it. I get it.
So here are my recommendations for how to spend 1, 3, and 5 days in Glacier National Park!
How to Spend 1 Day in Glacier National Park:
- Drive Going-to-the-Sun Road (Day 5 of the itinerary above)
- Dinner at Summit Mountain Lodge and Steakhouse
How to Spend 3 Days in Glacier National Park:
- Day 1: Hike Highline Trail to Granite Park Chalet, Grinnell Glacier Overlook, and Gunsight Saloon (Day 2 of itinerary)
- Day 2: Going-to-the-Sun Road with dinner at Serrano’s (Day 5 above)
- Day 3: Hike to Grinnell Glacier and dinner at Summit Mountain Lodge and Steakhouse (Day 6 of itinerary above)
How to Spend 5 Days in Glacier National Park:
- Day 1: Hike Highline Trail to Granite Park Chalet, Grinnell Glacier Overlook, and Gunsight Saloon (Day 2 of itinerary)
- Day 2: White water rafting along Flathead River and Backslope Brewing (Day 4 of itinerary above)
- Day 3: Going-to-the-Sun Road with dinner at Serrano’s (Day 5 above)
- Day 4: Hike to Grinnell Glacier and dinner at Summit Mountain Lodge and Steakhouse (Day 6 of itinerary above)
- Day 5: Explore the Two Medicine area and hike to Rockwell Falls and Aster Falls (Day 7 of itinerary above)
If You Have More Time

If you have a Glacier itinerary of more than 7 days, I highly recommend adding on another day hike to Iceberg Lake (10.4 miles round trip).
Also, as Glacier National Park extends into Canada where it becomes Waterton Lakes National Park, if you want to check out the Canadian side, I highly recommend exploring this area too!
Take a boat tour on Waterton Shoreline Cruises, or hike along trails like Waterton Lakeshore Trail (8 miles each way) or Bertha Lake (7 miles round trip).
Or, if you want to explore some gems without the crowds, head toward the North Fork area of the park and visit Bowman Lake or Kintla Lake.

Getting to Glacier National Park
This is important; let’s figure out how to get there for your one week in Glacier National Park! There are a couple of ways to do this.
The first, and definitely the easiest, is to fly into Glacier Park International Airport in Kalispell, Montana. This airport is definitely small but only about 30 minutes or so from the west entrance to the park.
Airlines like Delta, United, American, Alaska, and Allegiant fly here either seasonally or throughout the year.
If you have points, then this is definitely a great option. We ended up using 35,000 United points per person for our flights to Kalispell and it was nice to be so close to the park and land before noon.
However, if you don’t have points, definitely check Skyscanner and book when flight prices drop! Sometimes you can get deals for $300 or so!
Other nearby (ish) airports include Missoula, about a 2.5-hour drive to the western part of the park, Great Falls International Airport about 2 hours from the eastern part of the park, and even Calgary International Airport, which is about 4 hours from the eastern part of the park.
You can also take the Amtrak, or if you’re driving from Yellowstone or live in a nearby state and don’t mind a longer drive, you can drive here as well.
Lastly, if you do fly or take the train, I highly recommend renting a car. Yes, there are ways to see the park without a car (more on that below), but it makes life a lot easier. Be sure to book in advance and snag a good rental car ahead of time!
A Bit of Background for Glacier National Park


According to the NPS website, there have been people living in this area for over 10,000 years!
Most notably, the Blackfeet resided east of the mountains in the prairies (and still do!), while the Salish and Kootenai lived along the western valleys.
Then, by the 1800s, miners and Europeans came to the area, and by 1891 after the Great Northern Railway was complete, many others began to settle the area.
By the end of the 1800’s George Bird Grinnell pushed to make this a national park, and in 1910 it became the 10th national park under President Taft.
Being one of the nation’s oldest national parks, there is plenty of beauty and wildlife to spot during your stay.
When to Visit GNP
While this park isn’t completely closed off throughout the year, the best time to visit Glacier National Park is between late June/early July and through the end of September/early October.
During this time, Going-to-the-Sun Road is mostly or fully open and most trails are available throughout the park!
However, this is the most popular time to visit for a 7-day itinerary for Glacier National Park. So be sure to plan accordingly by getting up earlier for hikes as well as getting reservations for things like shuttles, boats, kayaks, tours, etc. well in advance!
Yes, you can certainly visit outside of this time frame, but snowfall is common and many parts of the park may be inaccessible due to that.
What to Pack for Glacier National Park

I highly recommend layers no matter when you spend a 7-day Glacier National Park itinerary!
Summer days here can be in the 70s/80s Fahrenheit and then quite cool in the evenings, even reaching temperatures closer to freezing!
So for hiking, I recommend packing sweat-wicking pants, short-sleeve tops, long sleeves, a warm jacket, a raincoat (PS- I usually bring a The NorthFace triclimate jacket for a warm jacket/raincoat combo), hiking socks, and hiking boots.
As always, carry a hiking backpack (we love our Osprey Hikelites), tons of water (including this 3L water bladder and a Lifestraw water bottle), and tons of snacks/food.
Also, having a hiking first-aid kit is useful, as is a tick key for picking those pesky ticks off should one become attached.
Outside of hiking, a swimsuit is a good idea for kayaking and rafting, and a couple of pairs of jeans and different shirts and layers (I mostly wore a white shirt with a flannel over it) works well for going out to eat and exploring the towns.
Basically, layers are key for the whole trip! So pack accordingly!
Getting Around Glacier National Park
Renting a car is kind of necessary if you want to be on your own time schedule and get to hikes early!
We rented a car from the airport and drove it around for the week. Check Skyscanner for good prices!
However, there are shuttles in the park as well as the iconic Red Jammer buses you can book a reservation on if you prefer to sit back and enjoy the views!

Where to Stay at Glacier National Park
There are seriously so many options for where to stay in and around Glacier National Park. If you want to save some serious cash, then camping is obviously one of the cheapest options.
Most campgrounds are open during the summer and cost about $10-90 per night. Check out camping options here!
There are also many lodges throughout the park. Lake McDonald Lodge and Many Glacier Hotel are some of the most beautiful and popular spots to stay and can get quite pricey as well. Rooms can go for as much as $500+ per night!


Be sure to book these well in advance!
There is also the option to stay outside of the park. This is what we did as we found some great Airbnbs outside the park that included laundry and had a kitchen, which was ideal after hiking so much.
This was our West Glacier Airbnb and our East Glacier Airbnb. There are some great West Glacier VRBOs and East Glacier VRBOs too!
Glacier National Park Tips and Information

Here are some pro-tips for your Glacier National Park itinerary:
- You’ll need a ticket to visit the park. This national park costs $35 per vehicle for 7 days. You can also purchase the America the Beautiful Park Pass for $80 for the year which allows you access to all the national parks.
- You’ll also need a vehicle pass for Going-to-the-Sun Road. Typically in the summer during the day, you’ll need a 1-day ticket for Going-to-the-Sun Road for $2 to enter the road. You can purchase that 120 days in advance at 8 am MDT or 1 day ahead of time. It is recommended to purchase 120 days in advance!
- You’ll need vehicle passes if you go to Many Glacier and North Fork too. Similar to Going-to-the-Sun Road, you can book a 1-day pass 120 days in advance or a day before. These are required to enter these areas. Check out passes here!
- Check this post out for more Going-to-the-Sun Road tips!
- Carry Bear Spray! Better to have it and not need it than not have it and need it! You can rent bear spray for about $25 per can for a week at many stores and visitor centers around the park. However, we just picked ours up at the airport on the way out and returned it there. Definitely watch the instruction video (it’s 2 minutes long).
- Pack sunscreen! Many hikes are outside in the heat and direct sunlight, so sunscreen is necessary!
- Always make sure you have enough gas! One way to ruin your 7-day Glacier National Park itinerary is to get stuck without gas!
- Plan for it to take time to get to places. You’re driving through the mountains, so just know that it’ll likely take time to get to your destination. For instance, from where we stayed in East Glacier to the Grinnell Glacier Trail, it was about 1 hour and 15 minutes.
- As always, leave no trace and don’t disturb wildlife.
- Check the National Park website for road and trail closures.
- Grab a Moon Travel Guide for Glacier National Park and Best of Glacier, Banff, and Jasper here! We’ve used these guides immensely in our planning and can’t recommend them enough! They’re written by locals and people who have traveled extensively to the area so you know they’re full of helpful tips and hidden gems!
- Not sure how much to budget? Check out our guide all about how much a trip to Glacier costs!
We hope you have the best time exploring the ins and outs of Glacier National Park in 7 days with this ultimate itinerary and guide!
Want more National Parks content? Check out these posts:
- Glacier National Park Honeymoon Guide
- Top USA Honeymoon Road Trips
- 3 Days in the Great Smoky Mountains National Park
- Best Hikes in the Smoky Mountains
- Best Time to Visit the Smoky Mountains
- Charming Smoky Mountains Vacation Rentals
- Best Things to do in Shenandoah National Park
- Best Wineries Near Shenandoah National Park
- When to Visit Shenandoah National Park
- Best National Park Honeymoon Destinations
- Best USA Honeymoon Destinations
- 23 Top September Honeymoon Destinations
Would you visit Glacier National Park? Let us know in the comments and tell us your experience below!
Thank you to Moon Travel Guides for sponsoring this article. As always, all opinions are our own.
Pin it here!


Kat is the founder and author of the World Wide Honeymoon blog. She has traveled to 43 countries spanning 5 continents to find the most romantic, unique, and fun places for couples to enjoy time together. She creates in-depth itineraries, honeymoon guides, packing lists, and even travel budget guides (Kat’s a former accountant!). Kat has been blogging since 2017, giving honest opinions and tips from her experiences while traveling. Aside from this blog, she runs a podcast with her husband, Chris, called the World Wide Honeymoon Travel Podcast and a travel blog dedicated to France called France Voyager.
Annie
Tuesday 5th of April 2022
for the "Going-to-the-Sun Road" I plan on going around November 11-13. reservation stop in September. Do you know any reason why?
Kat
Tuesday 5th of April 2022
Hi Annie! Going-to-the-Sun Road is closed because they start getting snow along that road as early as September, making it too treacherous to keep open. It is usually open from late June through early September, but you'll start seeing closures due to snow and other weather after that.
Paula
Tuesday 25th of January 2022
Thanks so much for this really great post. I really liked the advice to stock up on snacks at the grocery store!
Kat
Wednesday 26th of January 2022
Yes, it was so helpful to stock up!